The middle is the longest part of your UX case study, where you bring a recruiter through your design process. After you’ve gotten the recruiter hooked with your introduction, you then have to tell your story in a satisfying way. Let’s go through what you should show in the middle part of your case study, how long it should be and 6 tips to create a great case study. We’ve also prepared a checklist you can download—read till the end to get yours!
What Should You Show in the Middle Part of Your UX Case Study?
Show Your Design Process
This might sound obvious, but you should show your process in the middle portion of your case study. Take your recruiter through your journey from starting point to end goal. This means you cannot just create a gallery of wireframes and prototypes and expect a recruiter to be satisfied with your case study.
A great way to show your design process is to highlight some of the decisions you’ve made. When you do so, you demonstrate your ability to make tough choices. You also display your understanding that design isn’t a straightforward process: there are no right answers and many times you have to choose an option based on your best knowledge.
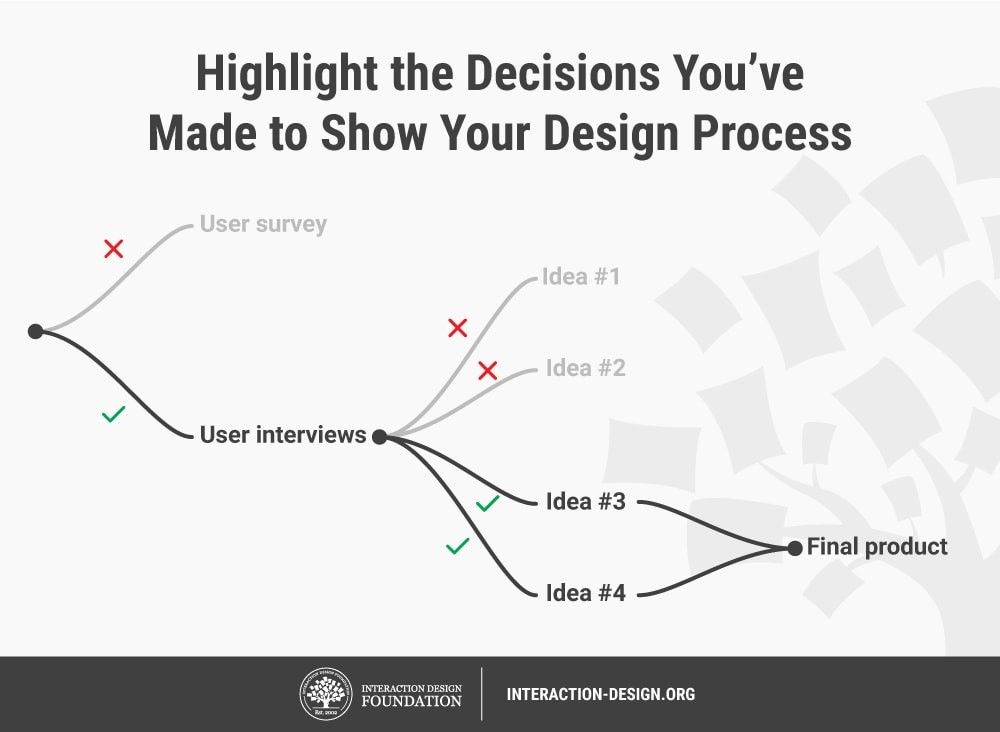
The best way you can demonstrate your design process is to bring your recruiter through some decisions you’ve made in your project. Author / Copyright holder: Teo Yu Siang and the Interaction Design Foundation. Copyright terms and license: CC BY-NC-SA 3.0.
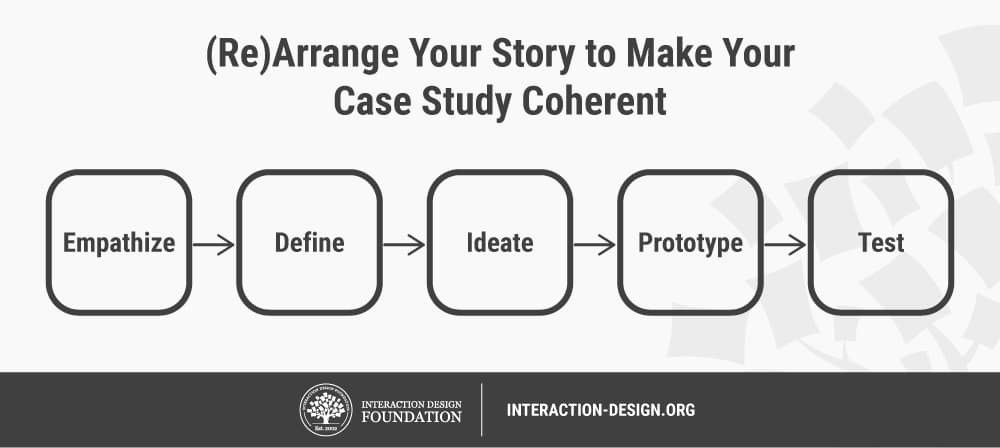
Let’s take a concrete example of a project where you went through the 5 phases of the design thinking process: empathize, define, ideate, prototype and test. You’d have made countless decisions throughout these 5 phases. For instance, in the empathize phase, how did you gather user information, and why? When you ideated for solutions, which solution did you ultimately choose? Why? These are the decisions you should showcase in your case study’s middle portion.
Build on Your Story’s Arc
According to Gustav Freytag, a story should contain 5 main parts: exposition, rising action, climax, falling action and resolution. Your case study is a story, and you should therefore incorporate Freytag’s 5-part story arc or pyramid.
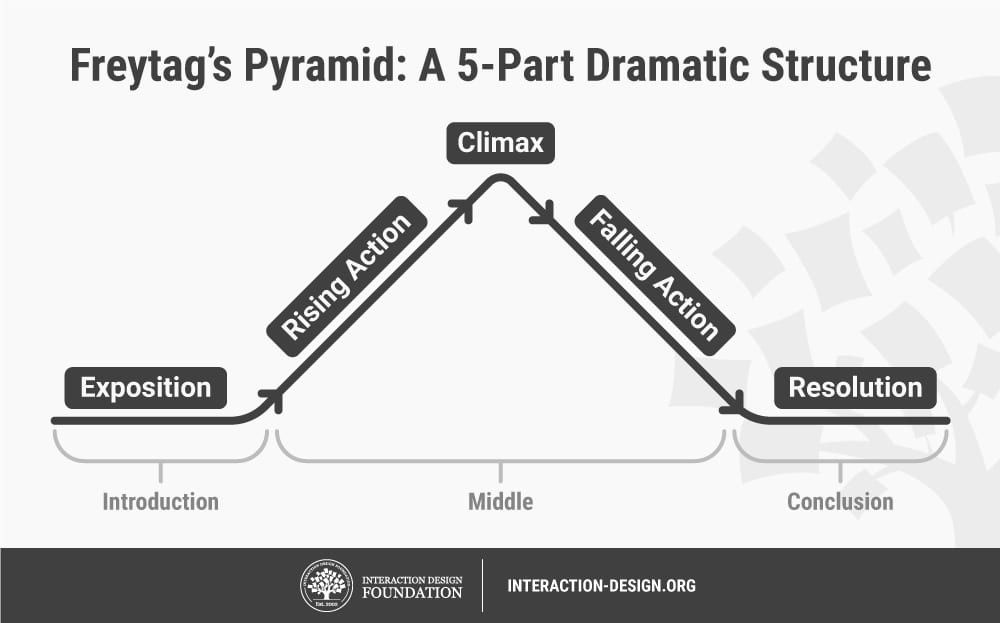
Use Freytag’s 5-part story structure to build your case study’s story. In the middle portion, build up some rising action towards a climax, and follow that with some falling action. Author / Copyright holder: Teo Yu Siang and the Interaction Design Foundation. Copyright terms and license: CC BY-NC-SA 3.0.
In the middle portion of your UX case study, you should cover “rising action”, “climax” and “falling action”. This way, you build on your introduction and tell an interesting story.
In rising action, bring your reader through the strategy you took to solve the design problem. Highlight the decisions you made and steps you took.
In climax, highlight a “wow” moment in your project. This could be an unexpected insight, a huge challenge or a moment when things clicked together. Don’t be afraid to dramatize your story a little!
In falling action, flow from your climactic moment towards your end result. After you discovered a key insight, for example, things should gradually become straightforward. The light at the end of the tunnel—your final product—should become visible.
Identify Your Project’s Rising Action, Climax and Falling Action
Take a moment to identify the parts of your design project that fall into “rising action”, “climax” and “falling action”. Every project is different, so the climax of one project can differ drastically from that of another project. Don’t be afraid to spend a bit of time here, because you will find it much easier to write an engaging story!
How Long Should the Middle Portion of Your UX Case Study Be?
Unfortunately, there’s no definite answer. Recruiters typically spend around 5 minutes reading your case study; however, they’ll skim rather than read every word. As such, there are no hard rules on the right length of your case study. Furthermore, every project is different, and some are longer stories than others.
However, you need to eliminate all unneeded parts from your case study. For instance, don’t spend paragraphs to explain your color scheme or typography unless your role is focused on visual design. You also shouldn’t list every question you asked in a user interview—it’s more important to outline why you conducted the interviews and what results you gained from them. Just put in enough information to keep the narrative moving, wording it to keep the reader engaged.
In other words, just make sure your case study isn’t too long. Aim for a summary, not a blow-by-blow account of what happened.
Our Checklist of 6 Tips to Create a Great Middle Part for Your UX Case Study
Since all design projects are different, we can’t give you a fixed template for your case study’s middle part. Rather, we’ll provide you with a checklist of 6 things to look out for.
1. Arrange Your Story to Make it Coherent
Most design processes are messy and nonlinear—but your case study cannot be messy! With that in mind, you should arrange your design story such that things progress in a meaningful way. Make sure your recruiter can easily understand your project after they skim through your case study.
Re-arrange what happened if you need to, so your story flows smoothly. Whereas in real life you might jump between the different phases of the design thinking process, you should present them in a straightforward manner in your case study. Remember to tell a story that leads from rising action into a climax, which then flows into falling action.
Make sure your case study is straightforward and easy to understand, even if your actual design process is complicated and messy. Author / Copyright holder: Teo Yu Siang and the Interaction Design Foundation. Copyright terms and license: CC BY-NC-SA 3.0.
2. Explain the What, How and Why
As you show your design process, highlight the “what”, “how” and “why” of your steps. Whenever you include a “what” in your case study, back it up with the “how” and “why”. Each UX deliverable should contain a brief walkthrough about how you created it as well as what its purpose is.
It’s not enough to just show what you’ve created—for example, a low-fidelity prototype. You also have to mention how you did it (e.g., with pencil and paper) and, most importantly, why you did it (e.g., so you can test your design with users). Many people forget their whys—but it’s so important because it shows you understand what you’re doing!
Here’s a sample sentence that contains the what, how and why; you’ll see that it doesn’t require a lot of words at all:
“I conducted video interviews with 10 users [what and how] to develop a rich understanding of their sleeping habits and problems [why].”
3. Use a Mix of Visuals and Text
Use visuals whenever appropriate. Images, screenshots and sketches make your case study more readable because they break up chunks of text. They also help you show rather than tell—that way, you can showcase your process without spending too many words to describe it.
Show images, screenshots and sketches of your works in progress and UX deliverables. Display early sketches, photos of Post-it notes used in a brainstorming session, notes from a user interview, and so on. This way, you’ll add credibility to your story, as if to say, “Look—I did my homework before I created the final product!” But don’t go overboard: choose images of your works in progress and UX deliverables that you think are the most impactful.
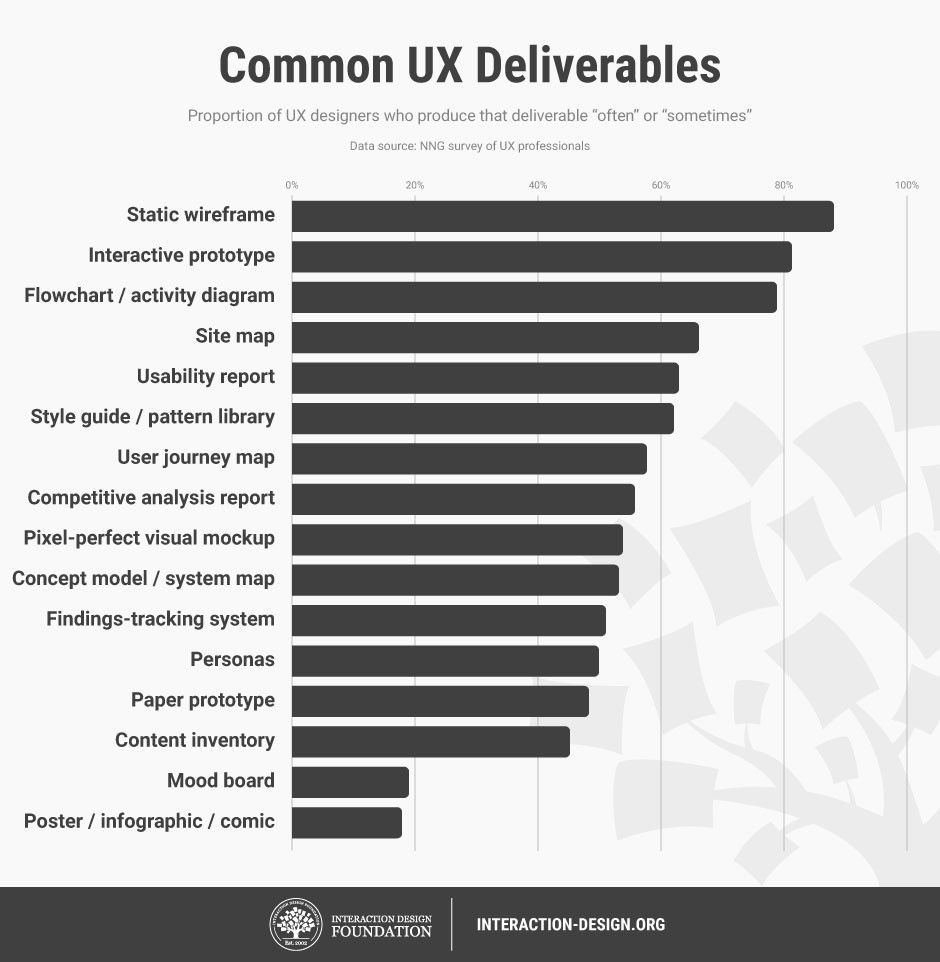
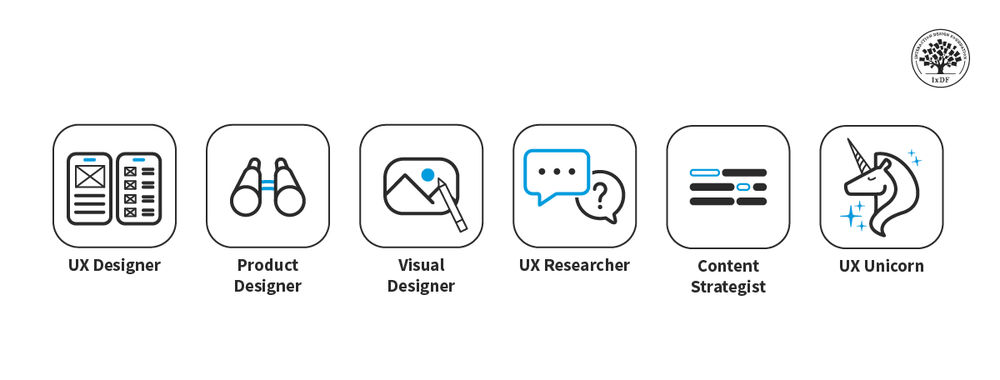
These are the most common UX deliverables—many of them are excellent visuals you can include in your case study. Author / Copyright holder: Teo Yu Siang and the Interaction Design Foundation. Copyright terms and license: CC BY-NC-SA 3.0.
Remember to balance your images with text. Your case study shouldn’t just be a gallery of images—but it shouldn’t be a wall of text, either. Use visuals whenever it helps show your process; use text, such as captions, to elaborate or to explain why you did what you did.
4. Strike a Balance Between “We” and “I”
You should give your team-mates credit whenever it’s due. For example, if you show a UX deliverable which you didn’t create, you should make that known explicitly.
It also means you should take credit for the things you have done. Recruiters need to know exactly what you contributed to the project! Always make sure you’ve got the right balance of “we” and “I”.
5. Make Your Case Study Scannable
Most recruiters will scan your UX case studies rather than read them word for word. So, how do you make your case study scannable?
First, make sure your headings are signposts. This means that if you just read the headings in your case study, you should be able to get a good idea of what your case study is about. If not, rewrite your headings to help recruiters scan your case study.
This lesson item, for example, contains headings that are good signposts. When we look only at the main headings, this is what we get:
How to write the perfect middle part of your UX case study
What should you show in the middle part of your UX case study?
How long should the middle portion of your UX case study be?
Our checklist of 6 tips to create a great middle part for your UX case study
Download our checklist to get started now
The take away
References and where to learn more
See how our headings help explain what our lesson item is about? That’s effective signposting, and you should do the same for your case study.
The second way to make your case study scannable is to bold your key words. This way, when a recruiter skims through your case study, important points stand out quickly. We’ve used this simple technique throughout this lesson so that you’ll pick out our main points even when you’re scanning it.
6. Remove the Unnecessary
Every word you add to your case study is expensive! Aim to create a punchy short story rather than a 400-page novel.
Make sure everything you include in your case study serves at least one of the following functions:
It explains your design or thought process. For instance, you can afford to elaborate on a challenge you faced if it helps you explain how you solved that problem. If something explains neither your design process nor the way you solve a problem, remove it.
It moves your story forward. Your goal is to move towards your final results. If you find yourself spending a few paragraphs to explain a single design decision, reexamine if they’re needed. Don’t take unnecessary pauses along your journey from problem to solution; they’ll make your story stall.
We love to tell our stories in all their rich detail, but when it comes to your UX case studies you should always focus on the essential and remove the rest. Remember, you’ll always have the chance to dive deep into your design process in your interview!
Download Our Checklist to Get Started Now
Get a PDF checklist of our 6 tips for writing your case study’s middle part now:

You’ll probably take some time to write your case study’s middle portion. After all, this is where you describe the bulk of your design project. However, know that all the time and effort you spend will be worth it—because you’ll make it easy for a recruiter to decide to call you for an interview.
Happy writing!
The Take Away
The middle portion of your UX case study is where you explain your design process, from your problem statement to your final solution. It’s also where you incorporate elements of “rising action”, “climax” and “falling action” to build a satisfying story arc into your case study.
Each design project tells a different story, so there’s no hard-and-fast rule for the optimal length of your case study’s middle part. The only rule of thumb is that you should write a summary rather than a blow-by-blow account of your project.
To help you, here are 6 tips on how to create a great middle portion for your UX case study:
Arrange your story to make it coherent;
Explain the what, how and why;
Use a mix of visuals and text;
Strike a balance between “we” and “I”;
Make your case study scannable; and
Remove the unnecessary.
References and Where to Learn More
Don’t forget to check out our guide on how to write effectively
Gustav Freytag’s 5-part story arc, which we refer to in this piece, was written in 1863 in Die Technik des Dramas (which translates to “Technique of the Drama”).
Mike Curtis writes about the need to balance the “we” and “I” in his article
Hero image: Author / Copyright holder: Hannah Olinger. Copyright terms and license: Unsplash License.