Stand-out case studies for your portfolio are simpler to write than you might think. The not-so-secret “secret sauce” is storytelling—something humans have been doing for a long time. As a result, there is a multitude of frameworks, guidelines, and structures that UX/UI designers can take advantage of in their case studies. One of the simplest yet most effective structures is German playwright Gustav Freytag’s Pyramid. Use this structure and transform your UX/UI design case studies into absorbing narratives that hiring managers love to read.
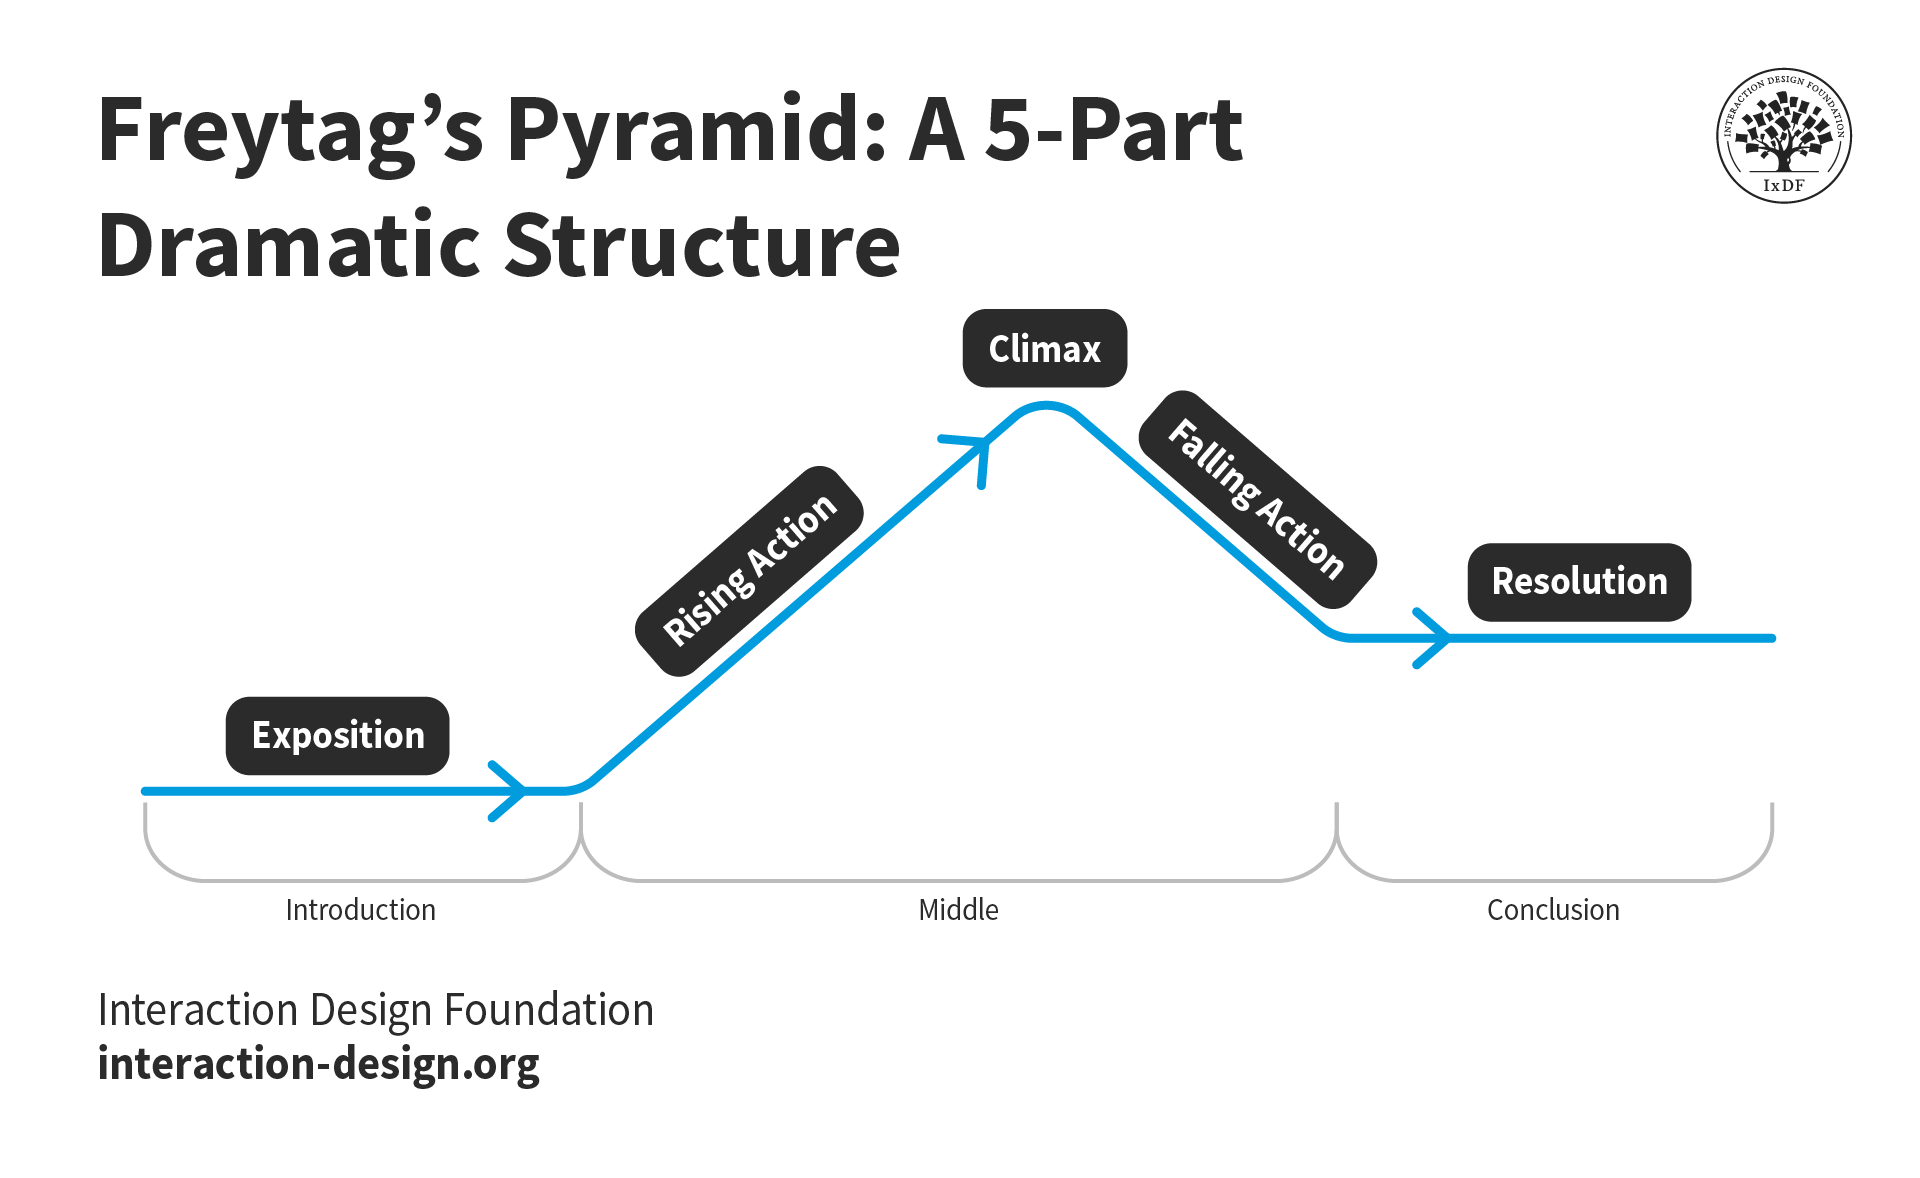
Gustav Freytag was studying Greek and Shakespearean tragedies when he created his pyramid. Of course, your UX (user experience) stories should not be tragedies! However, Freytag’s structure is perfect for case studies. Step by step, it gives your project a clear introduction, builds it to an exciting climax, and reveals the final product and outcomes. All you need to do is follow Freytag’s five-part arc:
Exposition: Set the stage for your story and introduce the “inciting incident.”
Rising action: The series of events that lead towards the climax.
Climax: The apex of your story, full of emotions and excitement.
Falling action: What happens as a result of the climax. Everything falls into place, and characters start to resolve conflicts.
Resolution: This is the conclusion of your story. All the loose ends and conflicts are resolved.
Freytag’s Pyramid is simple yet effective. It gives designers a straightforward way to build their case studies from the ground up with storytelling. Start with an outline based on the five-part structure, then fill it in with the details.
© Interaction Design Foundation, CC BY-SA 4.0
Storytelling is a vital element of your UX/UI design case studies that hiring managers, like Stephen Gay, UX Design Lead for Google One, look for in a portfolio. Watch this video to discover what Stephen wants to see when hiring and learn how to impress with your UX portfolio:
Show
Hide
video transcript
- Transcript loading…
1. Exposition: Start Your Stories the Right Way
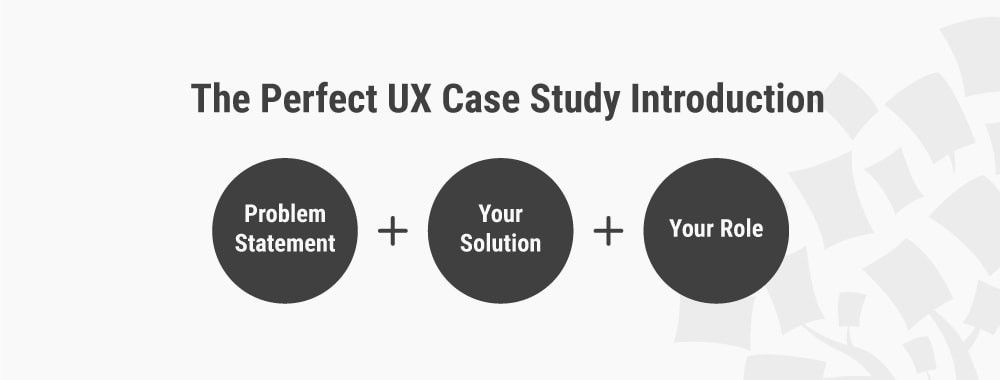
Exposition is where you introduce your narrative's setting, characters, and any required backstory. In the case of UX/UI design case studies, you will explain the project, its goals, and your role in it.
The Inciting Incident
A major element of the exposition is the “inciting incident”—the earliest event without which the rest of the story wouldn’t happen. Your incident might be as simple as “My employer assigned me the project.” However, you should add dramatic flair in the form of motivation.
Show what motivated you to take on the project, and use that motivation to introduce the project engagingly. Perhaps you wanted to create an exercise app, as you enjoy fitness and going to the gym (i.e., you have a personal motivation).
Even if you didn’t have a choice, you still need to show:
Why your employer wanted to create the app.
Why you cared enough to put it into your UX design portfolio.
For example, your employer might have recognized a gap in the market for a niche cooking app. Your motivation could be that you saw an opportunity to design a solution that would meet user needs in a unique way.
Project Goals
The project goals should also fold into the exposition. While goals and motivation are closely linked, they are not always identical. For example, the personal motivation behind a front-page redesign for an e-commerce site might be to improve usability. Meanwhile, the project goal would be to increase conversions and sales. Where possible, include specific, measurable goals so you can share a clear result in your resolution.
The Characters
Think about the characters in your project. You are the main character, but you must also introduce the key people you worked with. When you include the whole “cast,” it highlights:
What you did (and didn’t do) so that hiring managers can better evaluate your skills.
Your team spirit and willingness to give others credit when they deserve it.
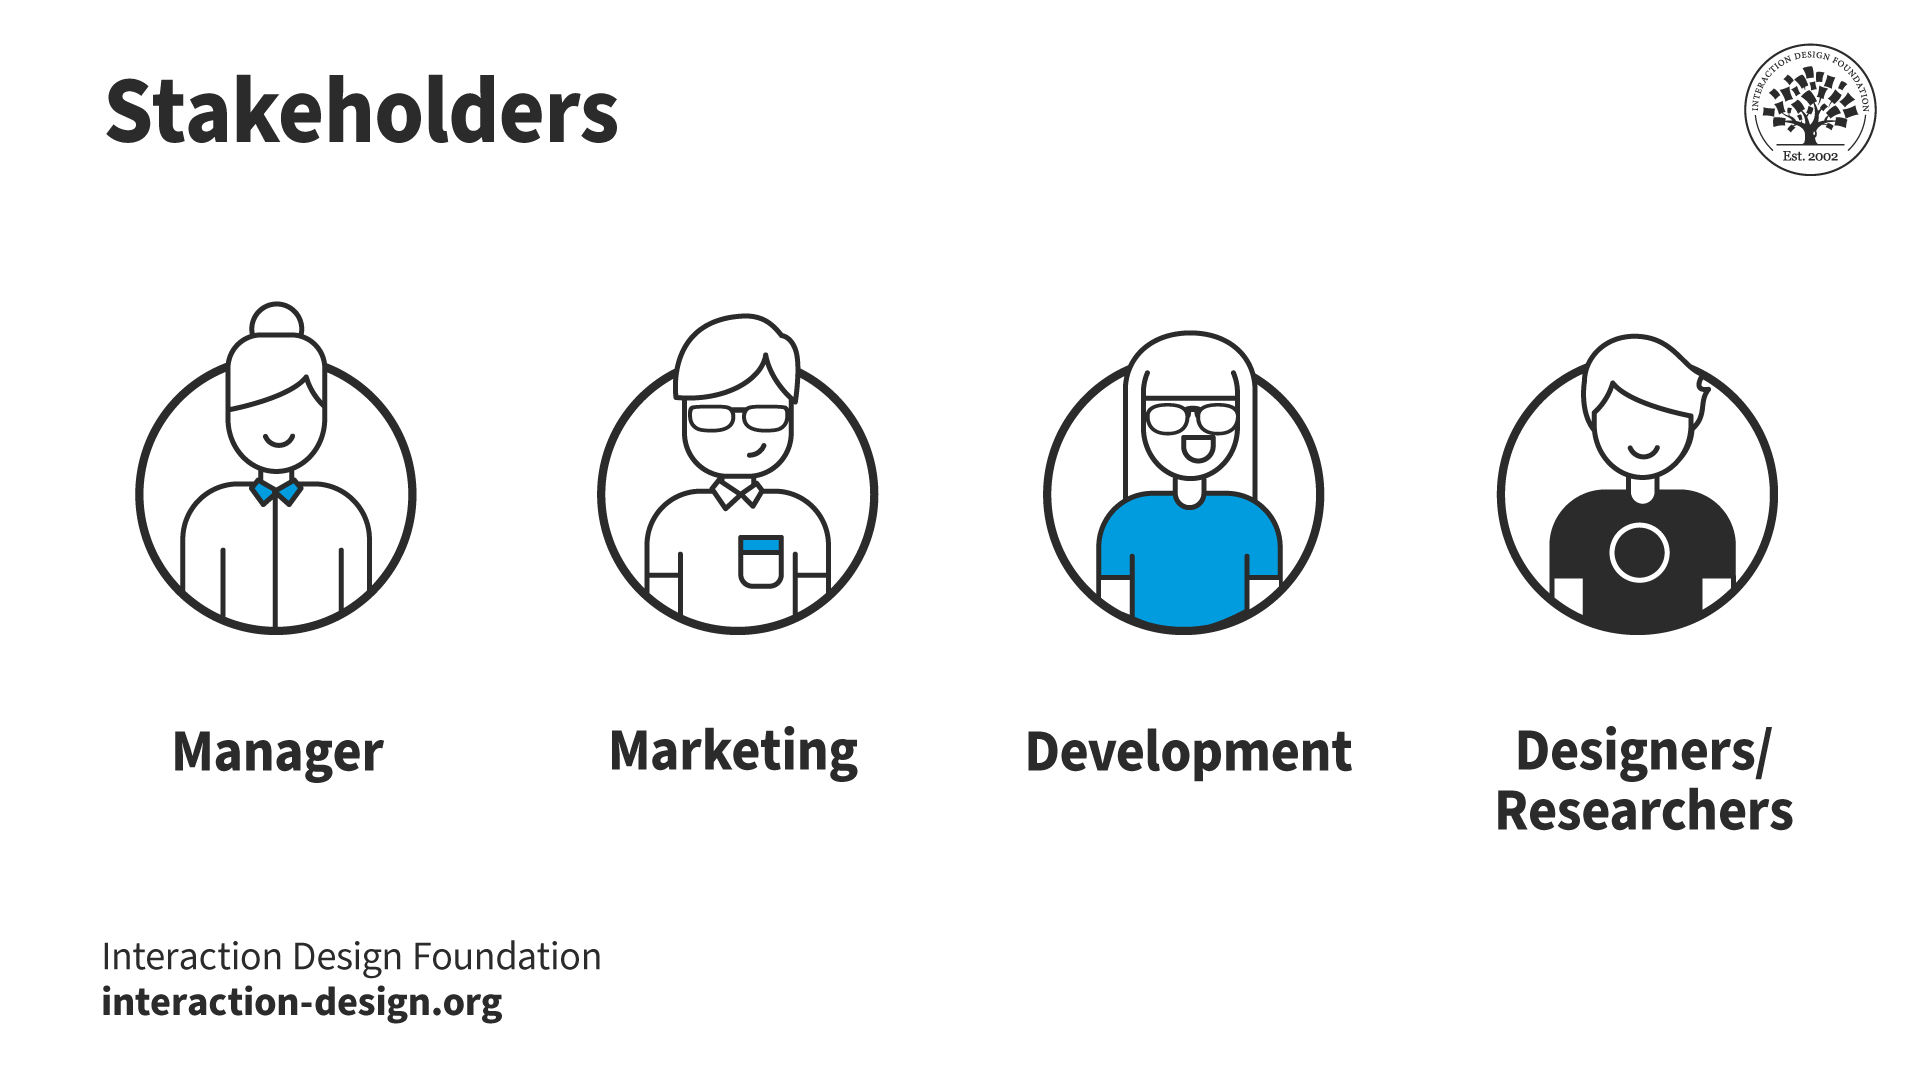
Consider all the stakeholders involved in your project—these are your secondary characters. Use this opportunity to show hiring managers how well the main character (you) works with others to solve problems.
© Interaction Design Foundation, CC BY-SA 4.0
2. Rising Action: Reveal Your Strategies
With the stage set, it’s time to shift your story into action mode:
Outline some of the challenges you faced: Challenges will provide conflict and make your story interesting. For instance, you could have had a tight budget or timeline to work with.
Explain your design process: If, for example, you used the five phases of design thinking—empathize, define, ideate, prototype, and test—then briefly explain what you did in each one. Make sure it’s clear what steps you took to reach the final product, as well as why you took them.
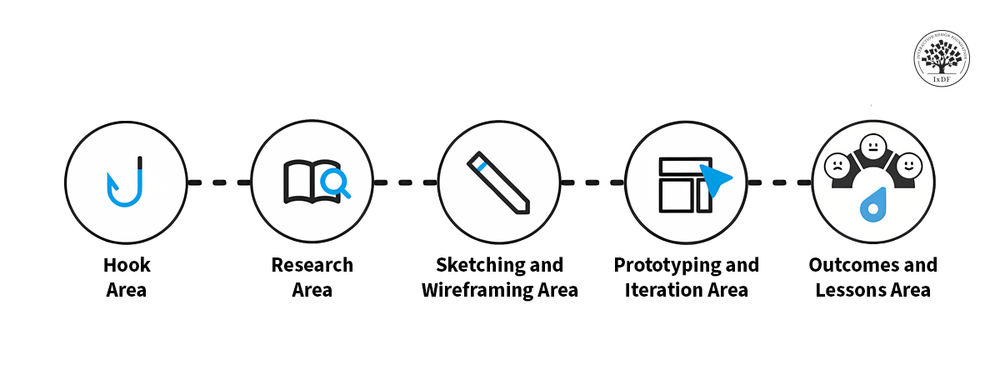
Take your reader through the beginning stages of your design process: If it’s an end-to-end design project, tell them about the user research stage. Include photos, sketches, or screenshots of the deliverables you created, such as personas and user journey maps.
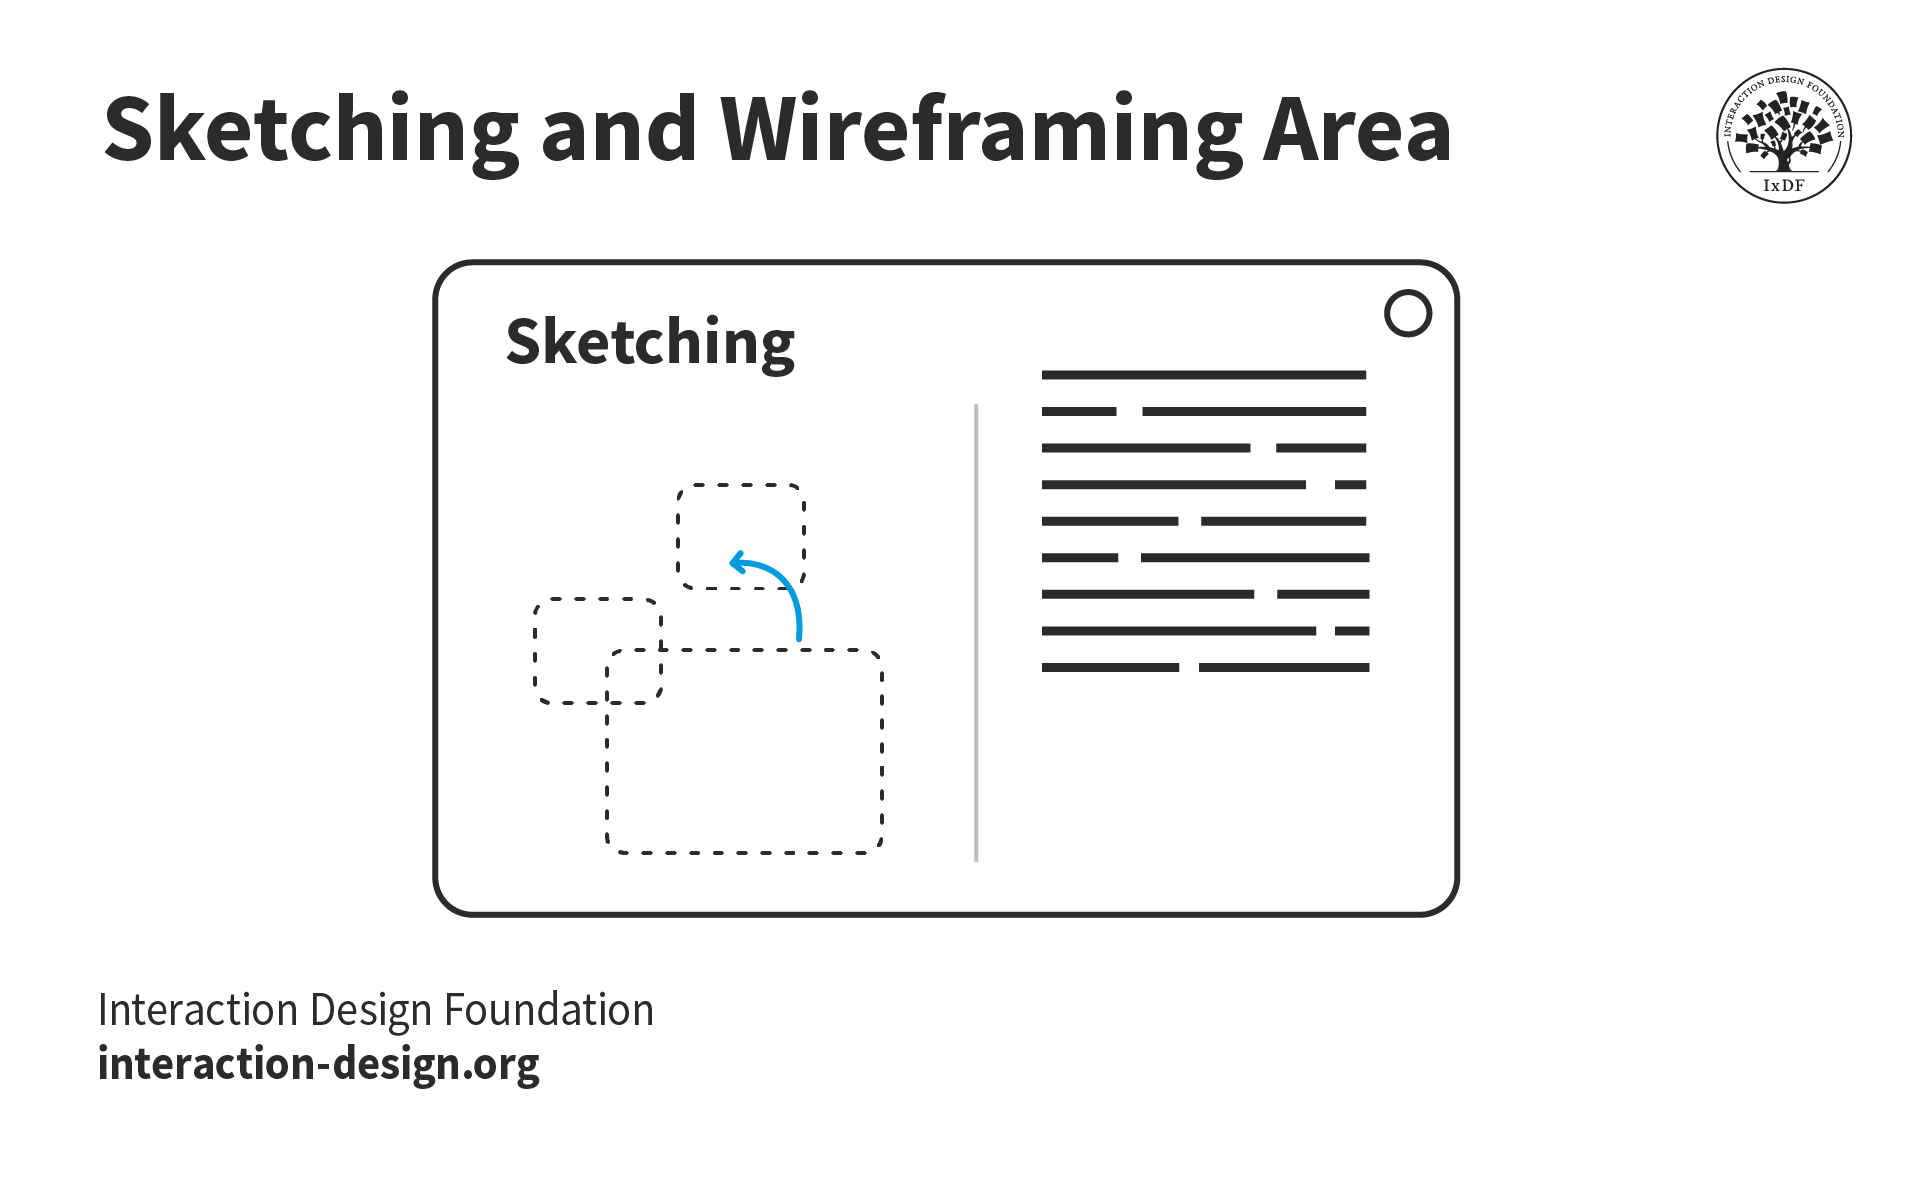
Make sure you include deliverables, such as sketches and wireframes, in your portfolio. These UX deliverables show how the project progressed and add to the rising action. Visual elements also make your case studies more aesthetically attractive, which increases engagement.
© Interaction Design Foundation, CC BY-SA 4.0
3. Climax: The Peak of the Pyramid
The climax is where you reveal the most exciting events of your project and show off your problem-solving abilities. While your final designs are essential, it’s the climactic moments that led to them that show hiring managers what you're capable of.
Highlight something about your project that will intrigue hiring managers. Something that will stick in their memory. For example:
A tough decision that you or your team had to make.
An unexpected user insight you uncovered through user research that forced you to change the direction of the project.
A sudden or time-sensitive challenge that you capably solved.
A novel idea or unexpected solution to the problem.
A brainstorming session you moderated that resulted in a solution to a previously unsolvable problem.
Your UX case studies should be concise, so you can’t show everything. Hiring managers may only have five minutes to review your portfolio. Think about the events of your project that will best contribute to a meaningful and compelling story. Every event needs to drive your story forward, just like in a book or a movie.
4. Falling Action: Everything in Its Right Place
By now, your story is almost ready to reach its final conclusion. Your user insights, decisions, and ideas come together to inform the final iterations of your product:
Show how you converted sketches and ideas into wireframes and high-fidelity prototypes.
Take your reader through your user tests and summarize the key feedback you gathered from users.
Present your photos, screenshots, and sketches of UX deliverables to support the story.
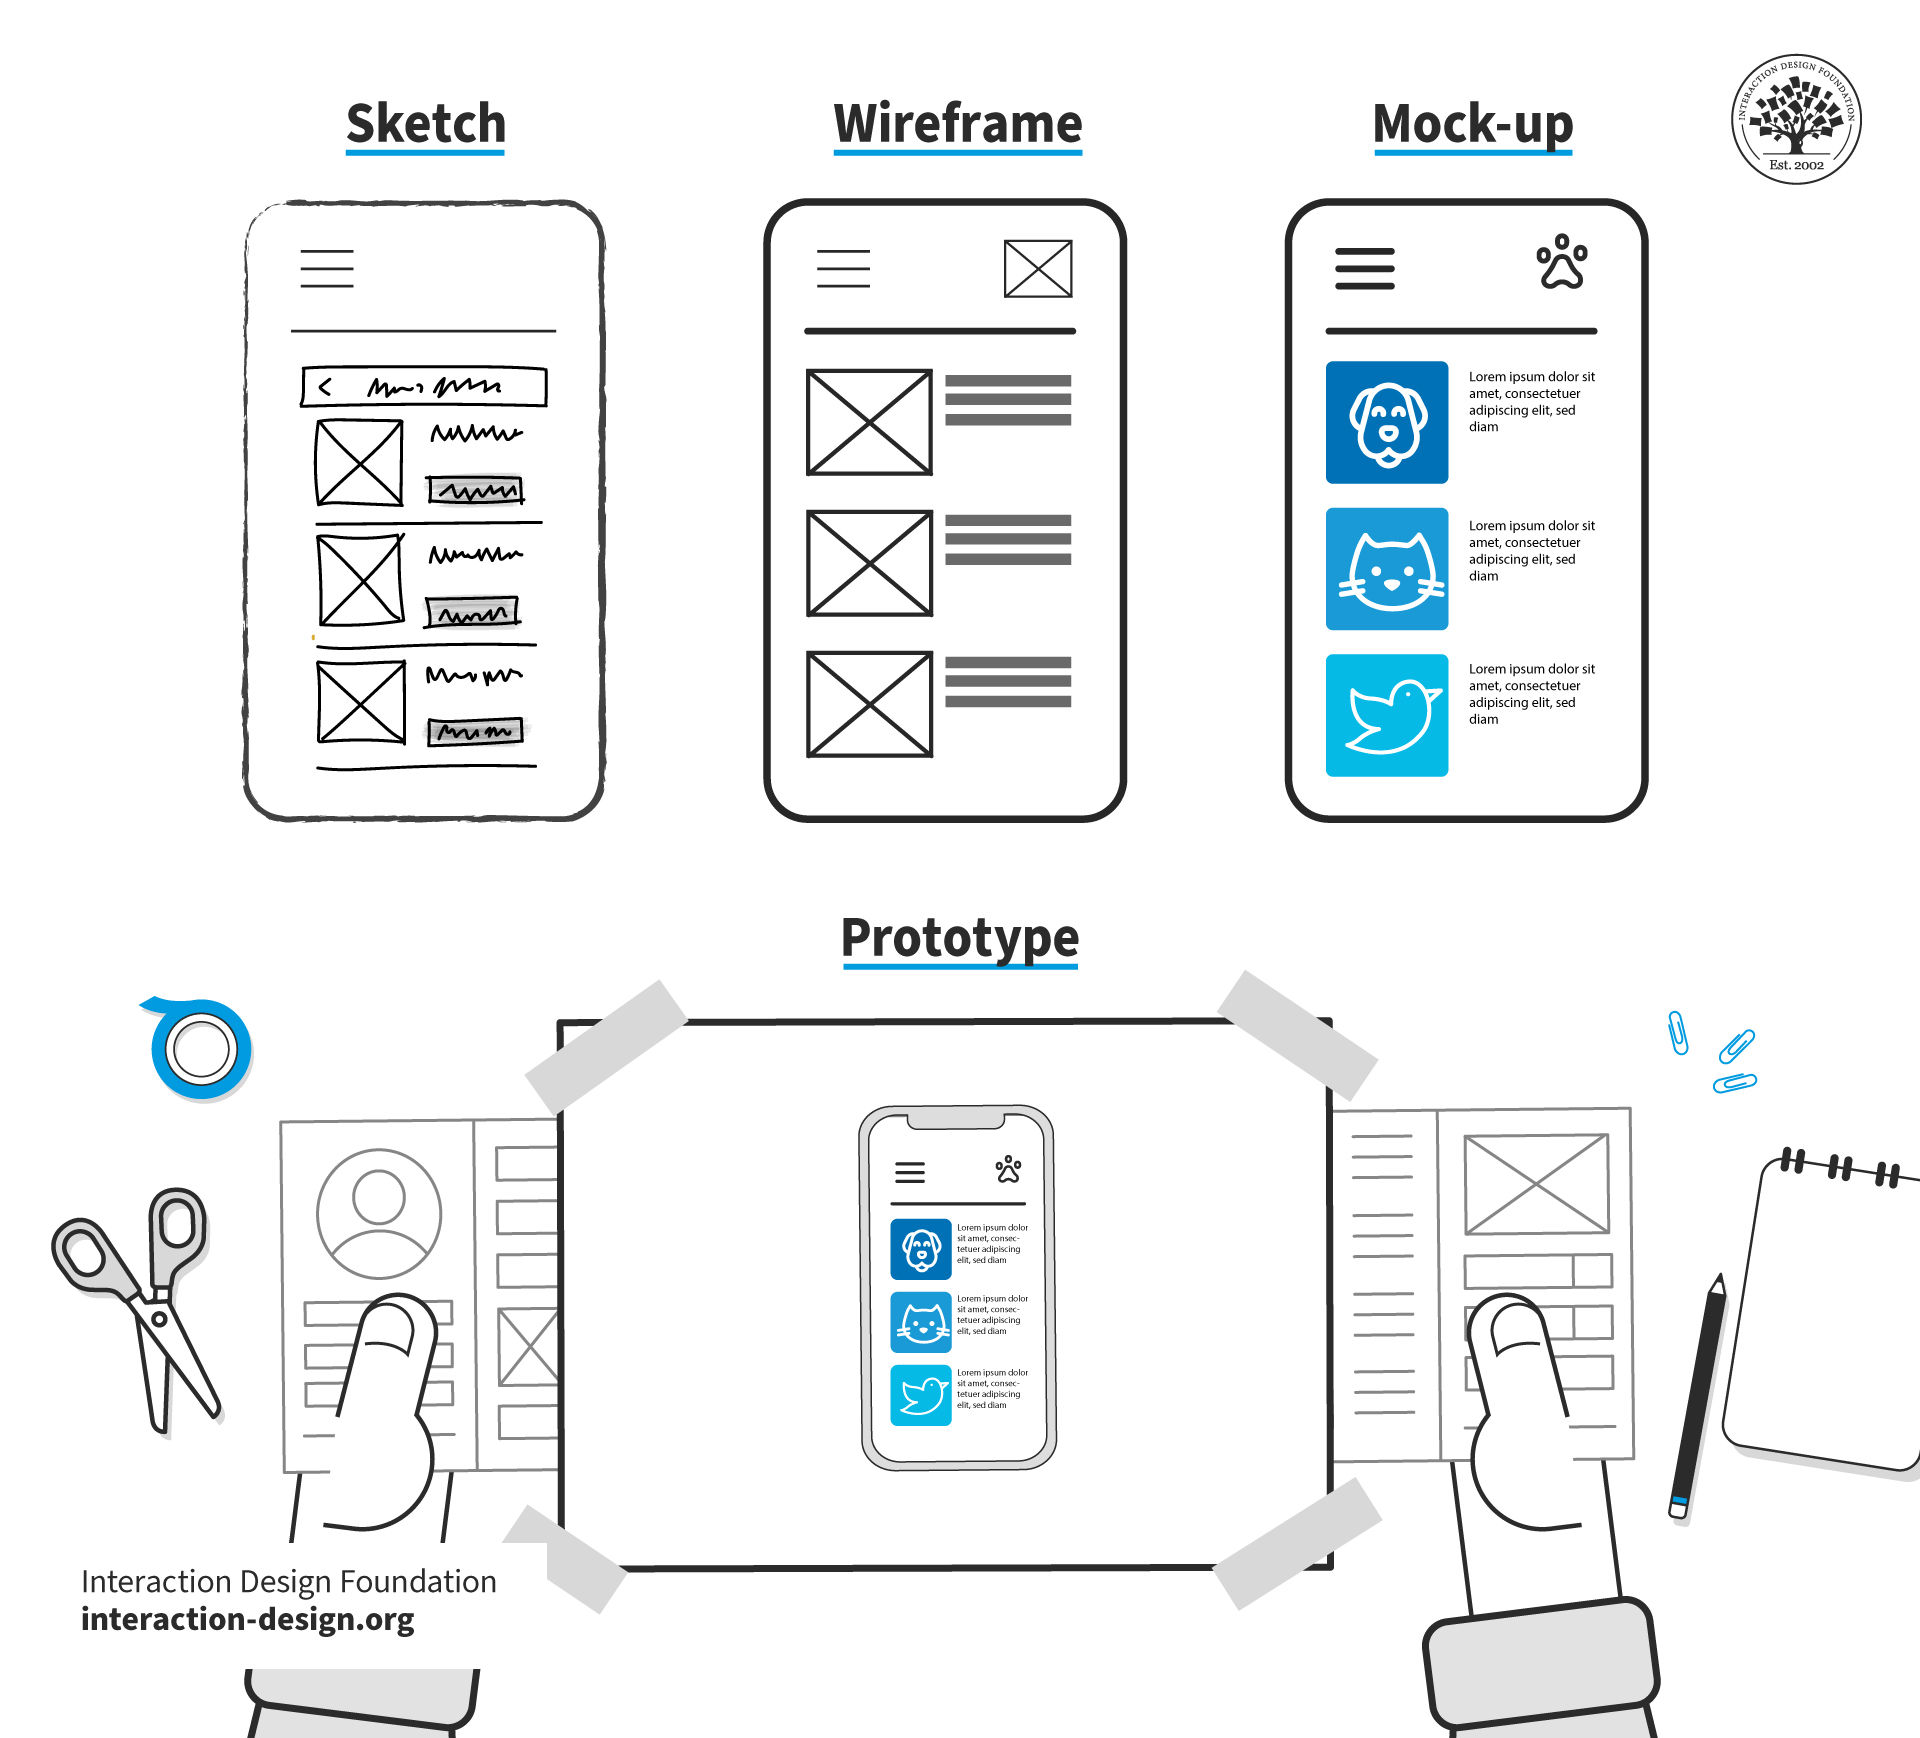
Your sketches, wireframes, mockups, and prototypes contribute visually to your design narratives. Show sketches in the rising action and final prototypes in the falling action and resolution. UX deliverables guide potential employers through your design decisions and make the outcomes more understandable.
© Interaction Design Foundation, CC BY-SA 4.0
5. Resolution: The Final Outcomes
The resolution is your opportunity to showcase the end results of your project. For an end-to-end design process, this will be your final prototype or product. If you’re a specialist, such as a UX researcher, this could be the final report of your research findings. Try to show your end results—for instance, in the form of screenshots of your final app.
Explain how your work has achieved its goal. Link it back to the main problems or goals you outlined in your exposition to give readers a sense of closure.
Include specific business outcomes if possible. Remember, hirers and companies care about the value you provide. Use business- and revenue-oriented outcomes as much as possible. For instance, if you’ve created an app, how many people have downloaded it and how have they rated it on the app stores? If you’ve improved a site's usability, has its conversion rate increased?
Finally, include your personal take away points. A good story is an emotional one! Self-reflection can include:
How did you feel about your end product?
What have you learned?
If your project was not as successful as you expected, what were the possible reasons?
Are there any follow-up actions you’d take, given that design is an iterative process?
A UX Tragedy, After All?
You might think a great UX case study has to end with amazing results, but that’s not true. For one, a great result today might not look so great a few years later. For instance, the app you worked on might be part of a trend that falls out of favor within a year or two.
What’s most important to a recruiter is how you overcome constraints and challenges to produce your results. While incredible results are excellent for your UX case study, don’t be afraid to present your project even if it didn’t succeed. More than anything else, they want to evaluate your mind and how you work.
In this video, Don Norman, Founding Director, Design Lab, University of California, and Co-Founder, Nielsen Norman Group, explains why designers should embrace failure in the 21st century:
Show
Hide
video transcript
- Transcript loading…
Video copyright info
David M. Kelley by Jonathan Chen (CC BY 2.0)
https://www.flickr.com/photos/wikichen/9375796736/
The Take Away
Storytelling is what makes your UX case studies engaging and memorable. Use Freytag’s five-part dramatic structure to craft compelling and powerful UX case studies:
Introduce your project, role, motivation, and goals in the exposition. Make sure to include the “inciting incident.”
Explain your design process and challenges in the rising action.
Highlight the pivotal events and findings of your design process in your climax.
Show how your work, insights, and ideas fell into place in the falling action.
End with a meaningful and thoughtful resolution. Highlight business-centric outcomes where possible.
References and Where to Learn More
Freytag’s five-part dramatic structure was first published in 1863 in German in his book Die Technik des Dramas (“Technique of the Drama”).
Want to create a portfolio that gets you hired? Take our course, Build a Standout UX/UI Portfolio: Land Your Dream Job, and learn how to showcase your skills, tell compelling project stories, and impress employers.
Combine Freytag’s Pyramid with Aristotle’s 6 Elements of Drama to Transform Your UX/UI Design Case Studies into Page-Turners.
Find out how to Design with Intent and Craft Your Portfolio with Visual Storytelling Tools.
Discover more about Freytag’s Pyramid in MasterClass’s definition.
Learn more from Don Norman in our course, Design for the 21st Century with Don Norman.
Images
Hero image: © Interaction Design Foundation, CC BY-SA 4.0