One of the best ways to gain insights in a Design Thinking process is to carry out some form of prototyping. This method involves producing an early, inexpensive, and scaled down version of the product in order to reveal any problems with the current design. Prototyping offers designers the opportunity to bring their ideas to life, test the practicability of the current design, and to potentially investigate how a sample of users think and feel about a product.
Prototypes are often used in the final, testing phase in a Design Thinking process in order to determine how users behave with the prototype, to reveal new solutions to problems, or to find out whether or not the implemented solutions have been successful. The results generated from these tests are then used to redefine one or more of the problems established in the earlier phases of the project, and to build a more robust understanding of the problems users may face when interacting with the product in the intended environment.
 Author/Copyright holder: Teo Yu Siang and Interaction Design Foundation. Copyright terms and license: CC BY-NC-SA 3.0
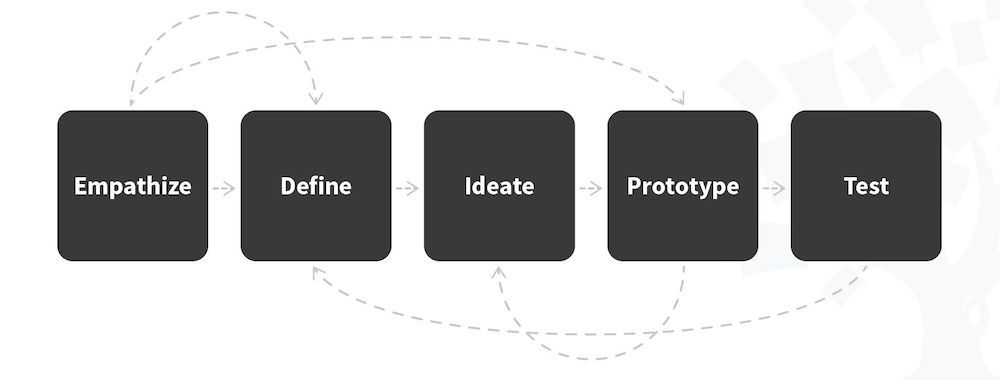
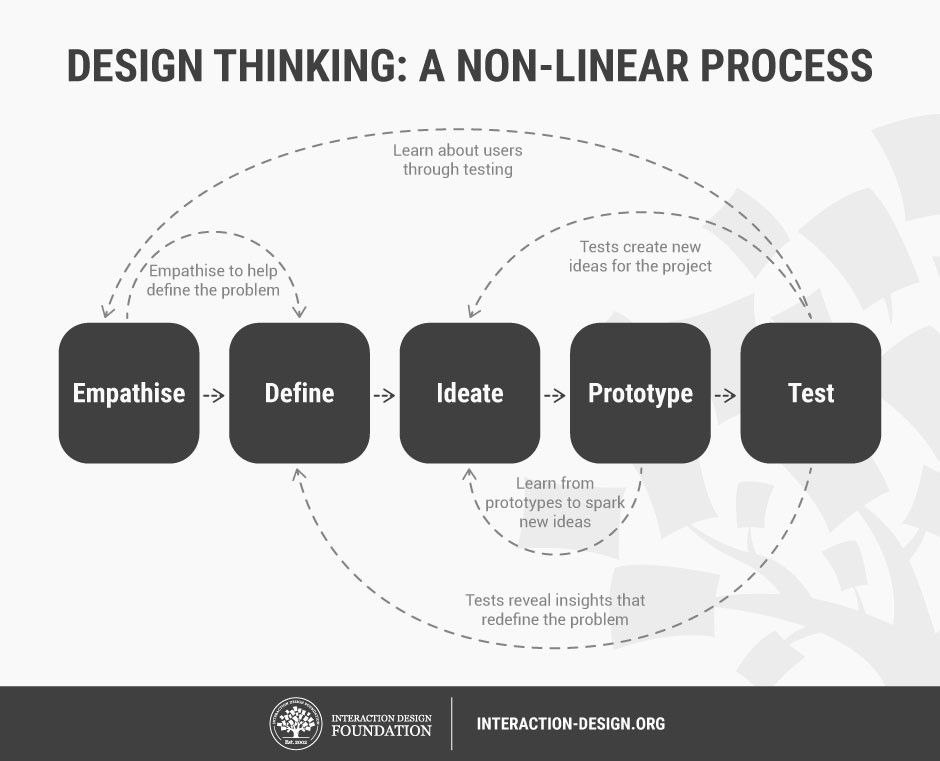
The five stages in the Design Thinking process are not always sequential — they do not have to follow any specific order, they can often occur in parallel and be repeated iteratively. As such, the stages should be understood as different modes that contribute to a project, rather than sequential steps.
When designers want to determine and understand exactly how users will interact with a product, the most obvious method is to test how the users interact with the product. It would be foolhardy and pointless to produce a finished product for the users to test. Instead, designers can provide simple, scaled down versions of their products, which can then be used in order to observe, record, judge, and measure user performance levels based on specific elements, or the users’ general behavior, interactions, and reactions to the overall design. These earlier versions are known as prototypes; they are not necessarily in the medium of the finished product, as this may not be cost-effective in terms of time or money.
Prototypes are built so that designers can think about their solutions in a different way (tangible products rather than abstract ideas), as well as to fail quickly and cheaply, so that less time and money is invested in an idea that turns out to be a bad one. Tim Brown, CEO of the international design and innovation firm IDEO, said it best:
“They slow us down to speed us up. By taking the time to prototype our ideas, we avoid costly mistakes such as becoming too complex too early and sticking with a weak idea for too long.”
– Tim Brown
 Author/Copyright holder: Rodolphe Courtier. Copyright terms and license: CC BY-SA 2.0
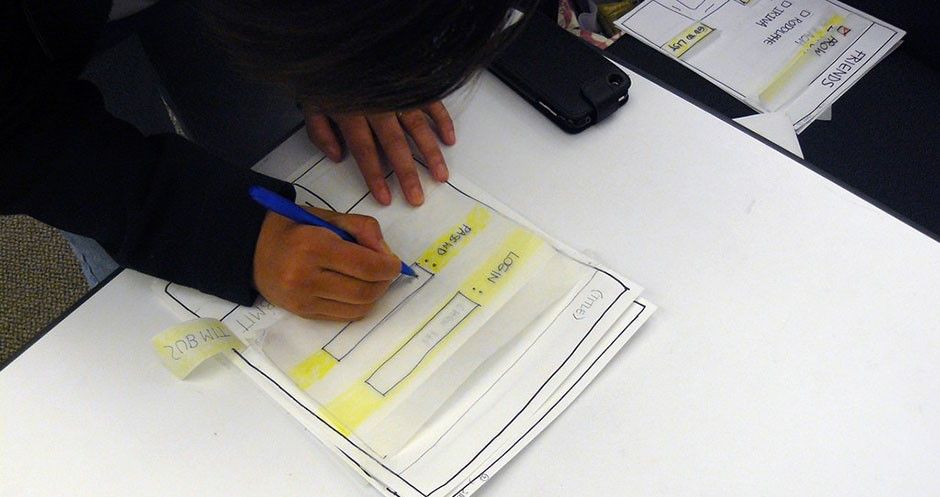
For instance, when developing software, a design team may produce a number of paper prototypes, as shown in the image above, which the user can gradually work through in order to demonstrate to the design team or evaluators how they may tackle certain tasks or problems. When developing tangible devices, such as the computer mouse, designers may use a number of different materials to enable them to test the basic technology underlying the product. With advances in 3D printing technology, producing prototypes is now often a more instant and low cost process, and as a result, this has allowed designers to provide stakeholders with accurate and testable/useable replica models before settling upon a particular design.

Types of Prototyping
Prototyping methods are generally divided into two separate categories: low- and high-fidelity prototyping.
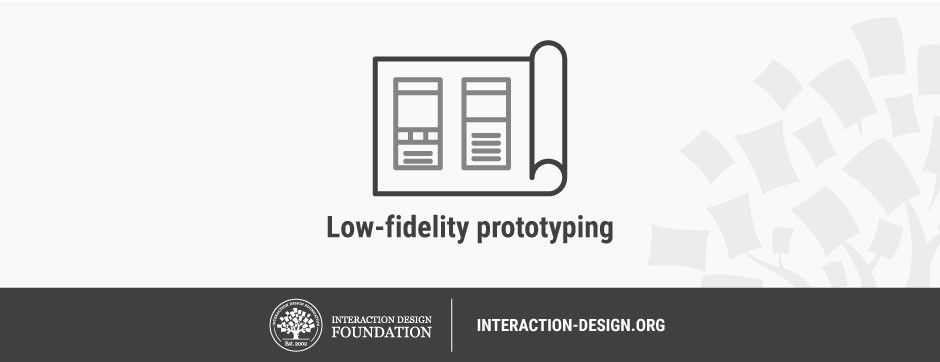
Low-Fidelity Prototyping
 Author/Copyright holder: Teo Yu Siang and Interaction Design Foundation. Copyright terms and license: CC BY-NC-SA 3.0
Low-fidelity prototyping involves the use of basic models or examples of the product being tested. For example, the model might be incomplete and use just a few of the features that will be available in the final design, or it might be constructed using materials not intended for the finished article, such as wood, paper, or metal for a plastic product. Low-fidelity prototypes can either be models that are cheaply and easily made, or simply recounts or visualizations of them.
Examples of low-fidelity prototypes:
Sketching (although Bill Buxton, a pioneer of human-computer interaction, argues sketching is not an example of prototyping).
'Wizard of Oz'.
Pros of Low-Fidelity Prototyping
Quick and inexpensive.
Possible to make instant changes and test new iterations.
Disposable/throw-away.
Enables the designer to gain an overall view of the product using minimal time and effort, as opposed to focusing on the finer details over the course of slow, incremental changes.
Available to all; regardless of ability and experience, we are able to produce rudimentary versions of products in order to test users or canvas the opinions of stakeholders.
Encourages and fosters design thinking.
Cons of Low-Fidelity Prototyping
An inherent lack of realism. Due to the basic and sometimes sketchy nature of low-fi prototypes, the applicability of results generated by tests involving simple early versions of a product may lack validity.
Depending on your product, the production of low-fi prototypes may not be appropriate for your intended users. For instance, if you are developing a product bound by a number of contextual and/or dispositional constraints (i.e., physical characteristics of your user base, such as users with disabilities), then basic versions that do not reflect the nature, appearance, or feel of the finished product may be of scant use; revealing very little of the eventual user experience.
Such prototypes often remove control from the user, as they generally have to interact in basic ways or simply inform an evaluator, demonstrate, or write a blow-by-blow account of how they would use the finished product.
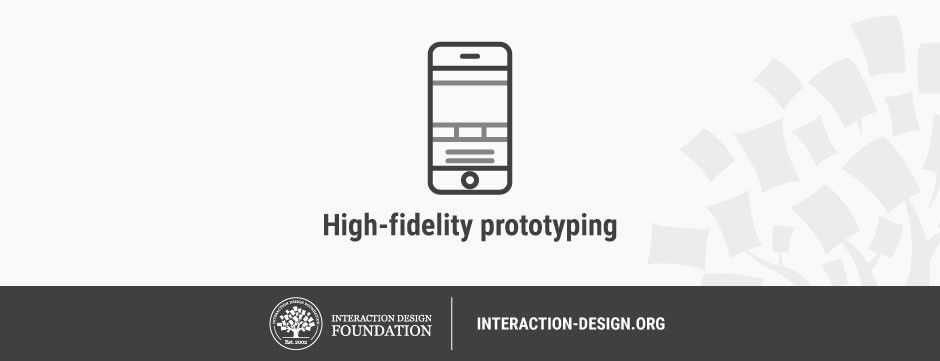
High-Fidelity Prototyping
 Author/Copyright holder: Teo Yu Siang and Interaction Design Foundation. Copyright terms and license: CC BY-NC-SA 3.0
High-fidelity prototypes are prototypes that look and operate closer to the finished product. For example, a 3D plastic model with movable parts (allowing users to manipulate and interact with a device in the same manner as the final design) is high-fi in comparison to, say, a wooden block. Likewise, an early version of a software system developed using a design program such as Sketch or Adobe Illustrator is high-fi in comparison to a paper prototype.
Pros of High-Fidelity Prototyping
Engaging: the stakeholders can instantly see their vision realized and will be able to judge how well it meets their expectations, wants, and needs.
User testing involving high-fi prototypes will allow the evaluators to gather information with a high level of validity and applicability. The closer the prototype is to the finished product, the more confidence the design team will have in how people will respond to, interact with, and perceive the design.
Cons of High-Fidelity Prototyping
They generally take much longer to produce than low-fi prototypes.
When testing prototypes, test users are more inclined to focus and comment on superficial characteristics, as opposed to the content (Rogers, Preece, and Sharp, 2011).
After devoting hours and hours of time producing an accurate model of how a product will appear and behave, designers are often loathed to make changes.
Software prototypes may give test users a false impression of how good the finished article may be.
Making changes to prototypes can take a long time, thus delaying the entire project in the process. However, low-fi prototypes can usually be changed within hours, if not minutes, for example, sketching or paper prototyping methods are utilized.
Due to the pros and cons of low-fi and high-fi prototyping, it should be no surprise that low-fi prototyping is the usual option during the early stages of a Design Thinking project, while high-fi prototyping is used during the later stages, when the test questions are more refined.
 Author/Copyright holder: Angeline Litvin. Copyright terms and licence: CC0
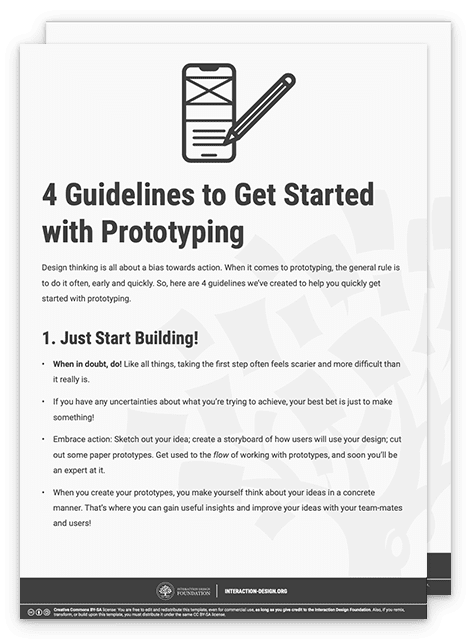
Guidelines for Prototyping
It is important to remember that prototypes are supposed to be quick and easy tests of design solutions. Here are a few guidelines that will help you in the Prototyping stage:
Just start building
Design Thinking has a bias towards action: which means if you have any uncertainties about what you are trying to achieve, your best bet is to just make something. Creating a prototype will help you think about your idea in a concrete manner, and potentially allow you to gain insights into ways you can improve it.Don’t spend too much time
Prototyping is all about speed; the longer you spend building your prototype, the more emotionally attached you can get with your idea, thus hampering your ability to objectively judge its merits.Remember what you’re testing for
All prototypes should have a central testing issue. Do not lose sight of that issue, but at the same time, do not get so bound to it so as to lose sight of other lessons you could learn from it.Build with the user in mind
Test the prototype against your expected user behaviors and needs. Then, learn from the gaps in expectations and realities, and improve your ideas.
The Takeaway
Prototyping can be a quick and effective way of bringing you/your client's ideas to life. A sample of your intended users or evaluators can then be observed and tested, and their opinions can be used to make improvements during an iterative design process. Prototyping methods are generally classified into one of two broad categories: low-fi or high-fi. In the former, simple versions are produced, sometimes with whatever materials are available, which can be tested immediately. In contrast, high-fi methods are generally closer to the final product in terms of look, feel, and means of interaction. Whilst hi-fi prototypes can help the design team gain valuable insights into how the product will be received when distributed, production of hi-fi prototypes can be time-consuming and can have the potential to significantly delay a project should changes need to be made. Therefore, designers have a number of different prototyping methods at their disposal, but there are drawbacks associated with both of these broad categories of testing methods, and this must be taken into consideration when deciding how best to improve your design within the allotted time frame and budget.
References & Where to Learn More
Course: “Design Thinking - The Ultimate Guide”.
Bill Buxton, What Sketches (and Prototypes) Are and Are Not.
d.school: Wizard of Oz Prototyping.
d.school Bootcamp Bootleg, 2013.
Hero Image: Author/Copyright holder: Annie Mole. Copyright terms and license: CC BY 2.0