If you nail your case study’s conclusion, you’re much likelier to get called to an interview, because employers tend to recall the last parts of a case study the most. Let’s see how you can craft the perfect ending to your UX case study.
So, you’ve written a great introductory hook to your UX case study, where you defined your problem statement, your approach to solving it and your role in the project. You then brought your reader through your design process and highlighted the decisions and challenges that led to your final result. One question remains: how do you end your UX case study with a bang? As it turns out, you need to include 3 things in your UX case study’s ending to make it truly satisfying: the final product, its impacts and your reflections.
What’s the Purpose of Your UX Case Study’s Conclusion?
To Wrap Your Story Up Satisfactorily
The conclusion of your UX case study serves as your story’s resolution. It’s where you tie up loose ends and close your story’s arc by answering the main question you asked in your introduction. When done right, your case study’s ending will create immense satisfaction and a lasting impression on a recruiter.
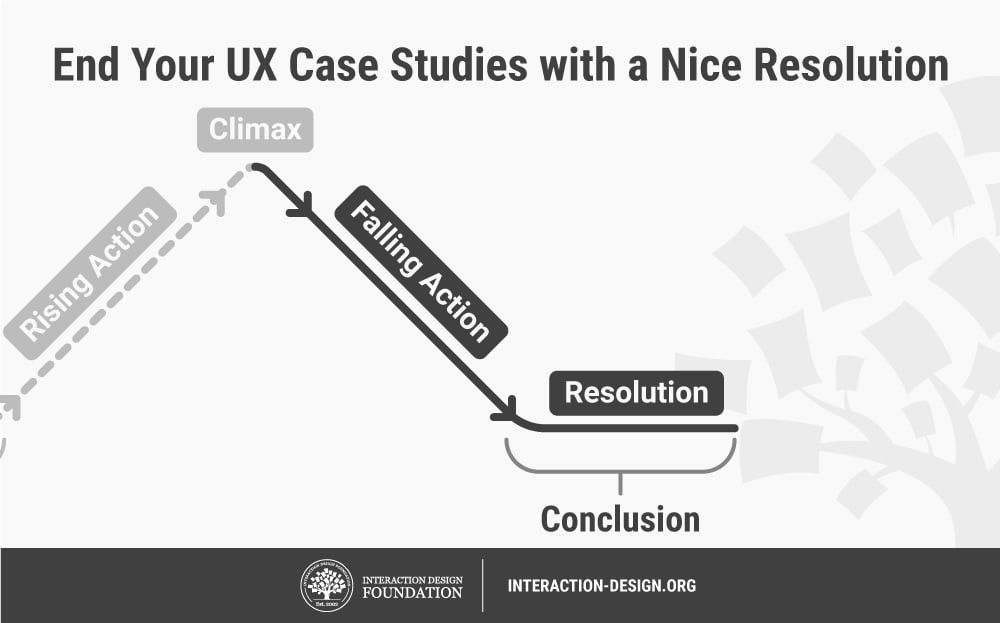
In the last part of your UX case study’s 5-part story arc, create a nice resolution to your story. The conclusion is where you bring everything together to leave your reader satisfied, if not wowed, with what you did and the outcome. Author / Copyright holder: Teo Yu Siang and the Interaction Design Foundation. Copyright terms and license: CC BY-NC-SA 3.0.
To Create a Great Last Impression
The lasting impression you create through your UX case study’s conclusion is absolutely vital. This is because of the serial-position effect, discovered by the German psychologist Hermann Ebbinghaus, where people tend to remember the first and last parts of a series best and forget the middle parts the most.
For instance, do you remember your most recent stay at a hotel? Chances are, you can recall how your stay ended when you checked out and how it began when you checked in—but nothing much of the middle. That’s the serial-position effect.
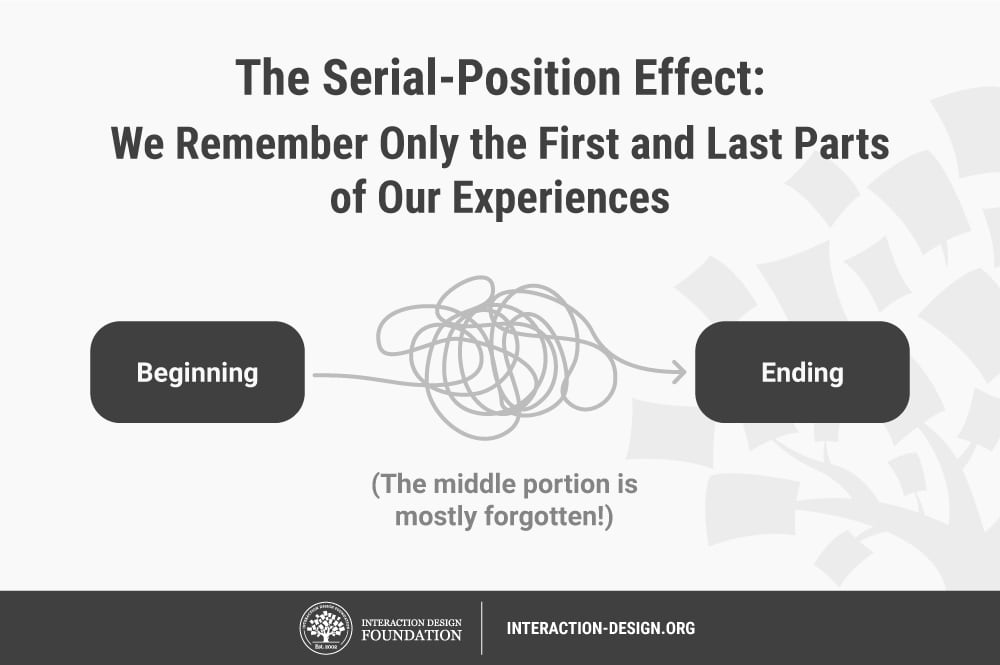
In 1913, Hermann Ebbinghaus discovered that we tend to remember only the beginnings and endings of things, and largely forget the middle parts. This means your UX case study’s introduction and conclusion are crucial parts! Author / copyright holder: Teo Yu Siang and the Interaction Design Foundation. Copyright terms and license: CC BY-NC-SA 3.0.
In particular, the serial-position effect is found to be strongest in the last items of a list. People tend to recall the last parts of an experience the most—that’s how vital your UX case study’s ending is! That isn’t to say you can afford to neglect any part of your case study’s middle part, though—it’s merely a scientific observation as to how recruiters will remember you. In other words, if you nail your case study’s conclusion, you’re much likelier to get called to an interview.
How Long Should Your UX Case Study’s Conclusion Be?
Your conclusion should ideally be as short as your introduction, or 4–5 sentences long. However, unlike in an introduction, you’ve got room for flexibility in your conclusion. That’s because while your introduction’s role is to quickly provide the needed information to move on to the main story, your conclusion has a different purpose—to make a great last impression. So, if you think a slightly longer conclusion can impress a recruiter more, you should go for it.
For instance, if you’ve got interesting lessons learnt or incredible results, you can afford to make your conclusion slightly longer, at around 3–4 paragraphs. Generally, the longer your case study’s middle portion is, the longer you can make your conclusion. But just like any other part of your case study, include only the essential and remove the rest. Every word counts!
3 Things You Should Include in Your UX Case Study’s Conclusion
A great UX case study’s ending contains these 3 things:
The final product;
Results and impact of the final product; and
Reflections and lessons learnt.
1. Show the Final Product
If you haven’t already showcased your final product in the middle part of your UX case study, now is the time to show it. Your final product will differ from project to project. For instance, a design thinking project will likely have a high-fidelity prototype as the final product. In a user research project, however, the final deliverable might be a set of user personas or a research report that contains recommendations.
If your final product is visual in nature—for example, an app—show it in a visual way. Screenshots, videos and interactive embedded prototypes are great ways to impress a recruiter. At the same time, practice restraint so that you don’t dump 100 photos of your entire project. Use only the most impactful ones.
If you’ve revamped an existing design, then this is a great time to showcase a before-and-after comparison. Include some screenshots of the problems in the old design in your introduction—and show and point out where you’ve improved it in your conclusion.
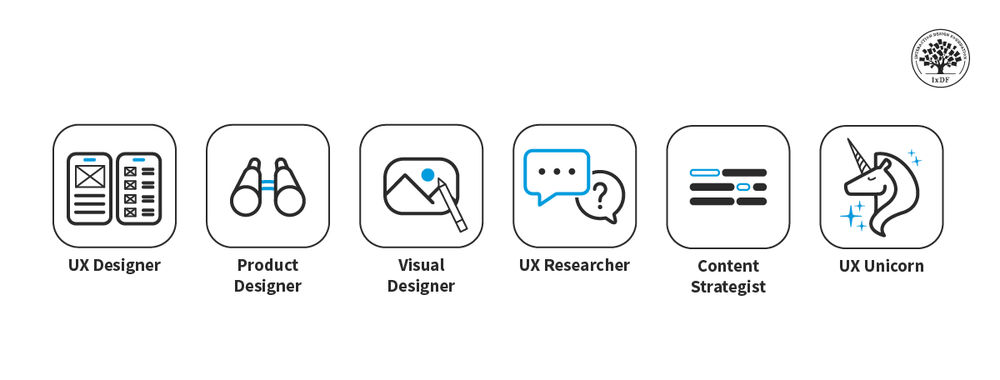
Even if your role is specialized and you therefore didn’t contribute directly to the final design of a product, you can still show the final product. This helps recruiters understand how your work shaped the final results. For example, if you specialize in visual design and have created an icon library, feel free to show how the icons are used throughout the product. If you do so, remember to make it clear what you worked on and what your colleagues created.
2. Demonstrate the Impacts of Your Project
Results are a must-have in your case study’s conclusion. Recruiters hire you to bring value to their organization, so they want to see the impact your work has generated.
Show results that are linked to the problem statement you introduced at the beginning of your case study. Since your problem statement should involve a business need, your results should also be business-oriented. For instance, show how your work has improved conversion rates or decreased drop-off rates. If you’ve created an app, show the app download or user rating metrics.
We encourage you to show numerical results, because they easily show your impact on a business. However, you can also show qualitative results—for instance, you can quote positive feedback and anecdotes from users and stakeholders.

Product designer Simon Pan’s UX case study is a great example of how to show the business results of your project. In his case study on his work for the ridesharing app Uber, Simon clearly shows how his work positively impacted the business. Author / copyright holder: Simon Pan. Copyright terms and license: Fair use.
3. Reflect on What You’ve Learnt
It’s vital that you reflect on your work in your conclusion. That’s how you create a sense of resolution and end in a satisfying way.
Furthermore, recruiters like to see designers who reflect on what they’ve learnt. According to Anett Illés from the UX design portfolio site UX Folio:
“UX recruiters and UX leads search for problem solvers motivated to explore and learn new things. So don’t hide your thirst for knowledge. On the contrary, highlight it!”
—Anett Illés, UX Folio
If you’re stuck at coming up with reflections, here are some questions you can ask yourself:
What is your main challenge in the project, and how have you handled it? For example, it could be the first time you’ve ever led a project. Or the project could’ve required you to step out of your comfort zone. Ideally, you should include a challenge that you have overcome, although sometimes a failure can make for an effective reflection, too.
What are some lessons you’ve learnt through the project? We are bound to make mistakes in our projects—and while we shouldn’t dwell on them in our UX case studies, we can turn them into learning points. Demonstrate how you’ve grown through your project.
Has the project changed your outlook as a designer? For instance, you could’ve learnt that a designer’s job is not only to delight users but also to bring value to the business.
What are your next steps for the project? Remember that design is an iterative process, so there’s no clear end point. If you could, how would you continue your work and take your project to the next level?
Download Our Template to Guide You
We’ve created a PDF guide to help you write your UX case study’s conclusion. Download your copy now:
An Example of a UX Case Study Conclusion
Let’s end with a sample conclusion we’ve created. This hypothetical UX case study is a design thinking project where we redesigned the home page of an ecommerce site. In this case study, we’ll assume that we’ve already introduced the final product in our middle portion.
We start with a long, first draft of our conclusion. We’ve included headings so you can clearly see its different components:
Results and impact:
Compared with the previous version of the home page, our newly designed home page increased the conversion rate by 20%. Our admin team also reported a marked drop in the number of enquiries about how the platform works, which demonstrates an increase in ease of understanding.
Main challenge and lesson learnt:
This was the first time I led a project. Although I was nervous at the beginning, I soon learnt to trust my team-mates. I also learnt that active communication and short daily stand-up meetings were key to ensuring the project’s success.
Next steps:
This home page redesign validated our hypothesis that the most effective value proposition is one that is centered around a person’s core motivation. I’m looking forward to applying the same approach to other key pages of the platform.
Now that we’ve got all the main points, we can focus on shortening it to fit 4–5 sentences. Don’t skip this step, because it will make your conclusion drastically better!
Here’s our shortened and final conclusion:
Our redesigned home page had a 20% higher conversion rate. We also received fewer enquiries about how the platform works, which shows the new design is easier to understand.
This was the first time I led a project. While I was nervous initially, I learnt to trust my team-mates and that daily stand-up meetings were key to the project’s success.
This project validated the value of using copy that is centered around a person’s core motivation, and I look forward to applying the same approach to the rest of the site.
If you’ve revamped an existing design, you should also point out the specific areas you’ve improved in the design.
The Take Away
A well-written conclusion to a UX case study ensures that a recruiter leaves with a great last impression. This is extremely valuable because we tend to remember the last parts of an experience best, due to what’s called the serial-position effect.
Your conclusion should be 4–5 sentences long, although a longer middle portion or more elaborate reflections and results can justify a lengthier conclusion. To create a satisfying end to your project’s story and deliver a great last impression, you should include the following in your UX case study’s conclusion:
The final product (if you’ve not already shown it in your case study’s middle portion);
Business-oriented results and impacts of your project; and
Reflections on your work.
References and Where to Learn More
Our UX case study writing guides take inspiration from Gustav Freytag’s 5-part story structure, also called Freytag’s Pyramid. The pyramid was first written in Freytag’s 1863 book Die Technik des Dramas, or “Technique of the Drama”.
Hermann Ebbinghaus first published about the serial-position effect in 1913 in his paper titled “On memory: A contribution to experimental psychology”.
You can check out Simon Pan’s UX design portfolio for inspiration:
Your use of English can make or break your UX case study. Check out our guide, which contains 8 tips to write effectively
Anett Illés writes about how to follow UX recruiters’ logic in your UX case study in her article in UX Folio
Hero image: Author / Copyright holder: Matt Botsford. Copyright terms and license: Unsplash License.