The idea of “faking it, until you make it” is not new but it has a unique UX twist. The ability to develop and test prototypes at rapid rates of iteration lets you “fake” new products, get user feedback and make improvements without ever “making the product” until you have things just right. This can be a very valuable way of making a small budget go a long way.
Liz Gannes, writing for Gigaom, reports that Aardvark maybe the most successful proponents of faking it, until you make it in recent times. The company knew what it wanted to do but didn’t have the funds to go about it.
So what did they do? They created a manual process that appeared like an automated process. Instead of automating connections between their users, they used a human being to control and drive interactions instead. They took their concept and showed that it was a valid way to conduct business.
The approach worked too – Aardvark went on to get picked up by Google for $50 million, which is a pretty good indicator of success.
The Faking it Until You Make it Technique in UX
Ekta Srivistava, a User Interface Specialist and UX Architect, writing for Usability Geek, offers a great process for introducing the concept of faking it until you make it into UX work. The PR2I process. It’s a form of rapid prototyping that allows you to quickly create and deliver “fakes” until you’re ready to make a product.
The PR2I Process
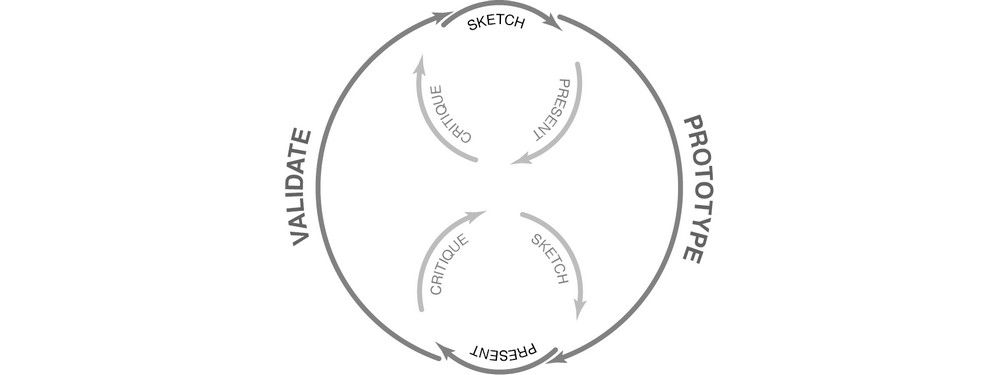
This is a prototyping process that uses rapid iteration to get to a product that will add the maximum value to the user. It is a cyclical concept where you move through each stage to the next and when you reach the end, you return to the beginning (over and over again) until you have the result that you need.
Ekta suggests that you begin with a rough sketch that includes the vital concepts you intend to work on and then move forward with the process itself:
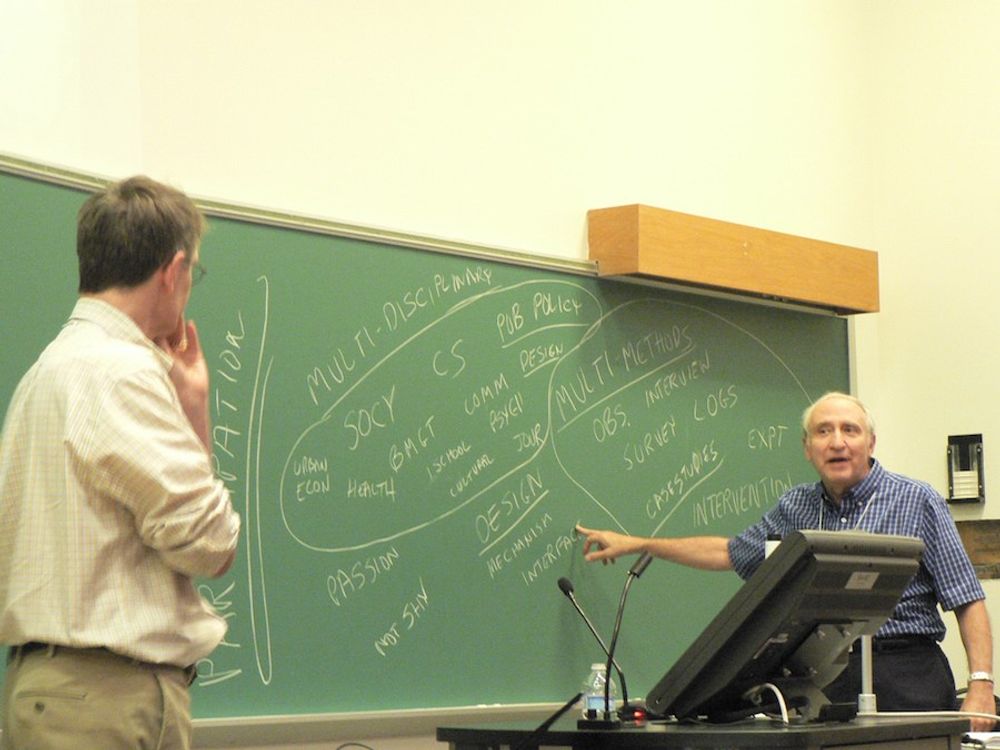
Stage 1 – Prototyping
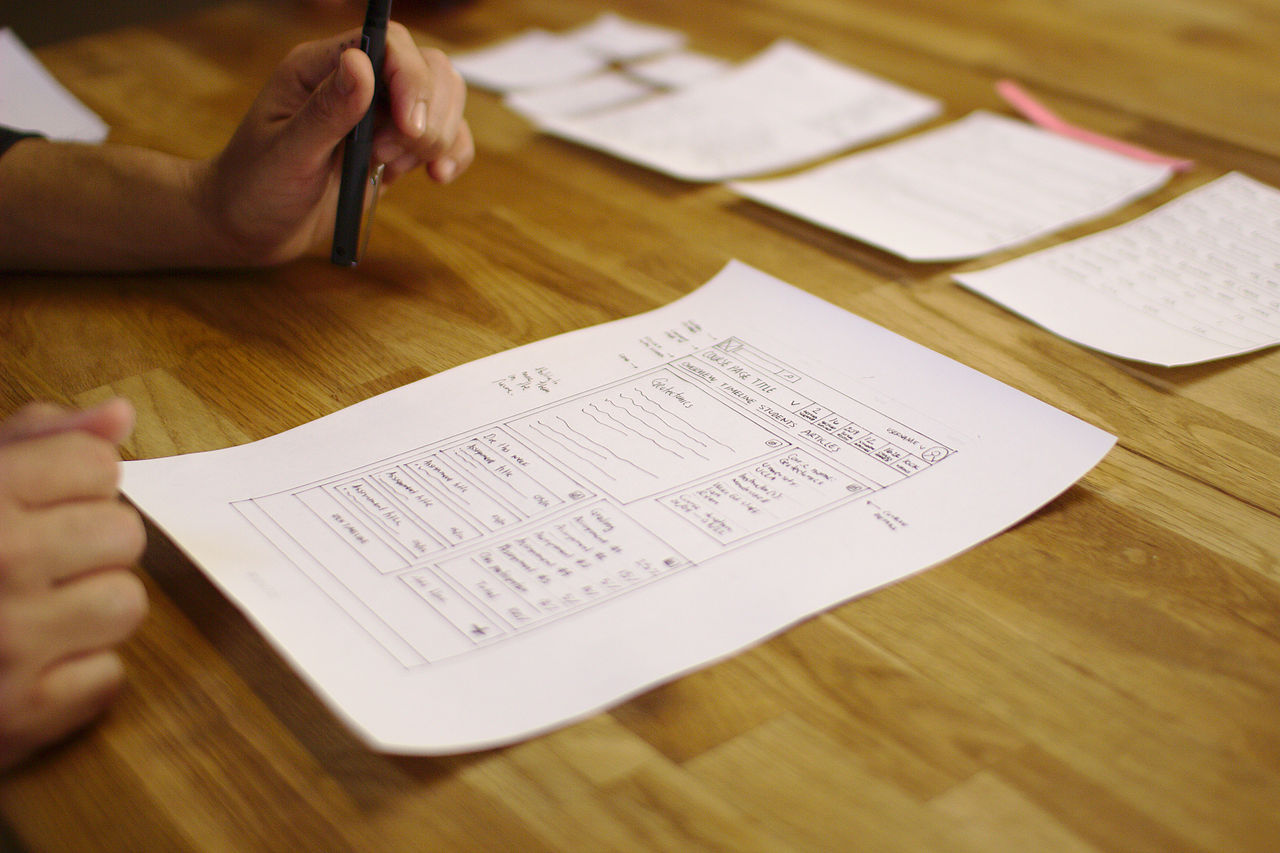
© Sage Ross. CC BY-SA 4.0
You’ll need to conduct a little user research and have any business or client requirements well in hand so that you have something to base your prototyping exercises on. Once you have these detailed requirements – you can create a mock up. These can be sketches early in the process and then move to low-fi prototypes as you progress.
Ekta recommends that you keep in mind UX best practices and try to ensure that you meet these throughout the lifecycle.
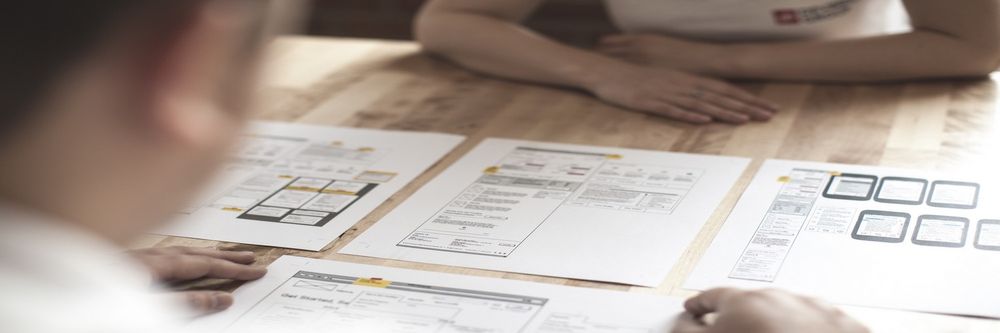
Stage 2 – Reviewing
This is when you bring together all the stakeholders on your project and ensure that their expectations are met with the prototype. You make detailed notes of what’s working well and what’s not going so well. These make it easier to refine the product.
Stage 3 – Refining
Once you have some feedback, you need to ensure that you understand this clearly and then incorporate this into a list of refinements to be included in the next iteration. Then you return to the start (if necessary).
Prototyping Techniques
Not all prototypes are created the same. There are low-fi and high-fi techniques you can use which boil down to:
Sketches
Wireframes
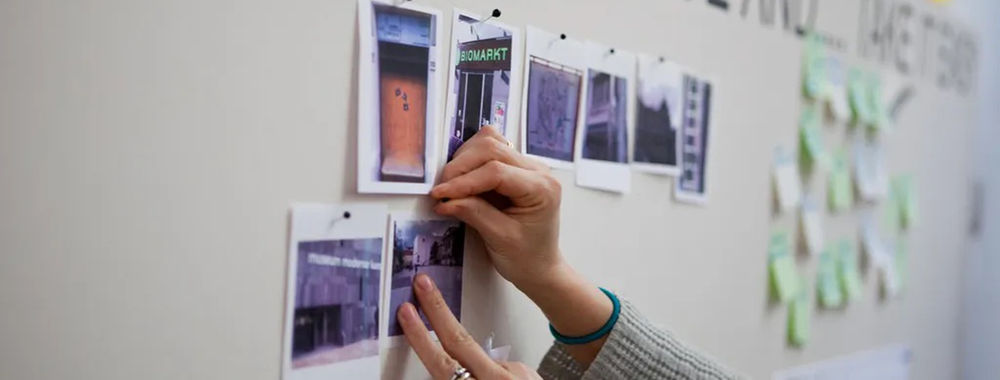
Sketches
Sketches are the lowest fidelity technique. They make for a great project starting point. They’re easy to create and very easy to deliver. They allow you to check that concepts and requirements have been fully-understood without putting in too much effort. As you move through the project, sketches will become less useful. It can be hard to test functionality easily with sketches and it can become time consuming as the product becomes more complex and better evolved.
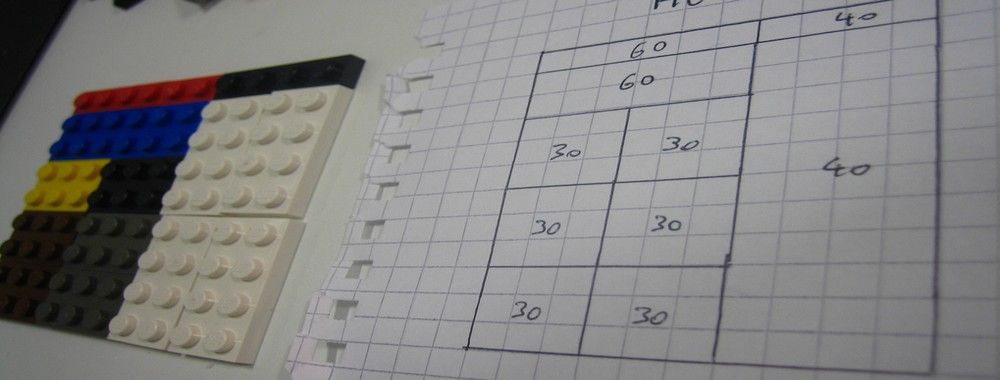
Wireframes
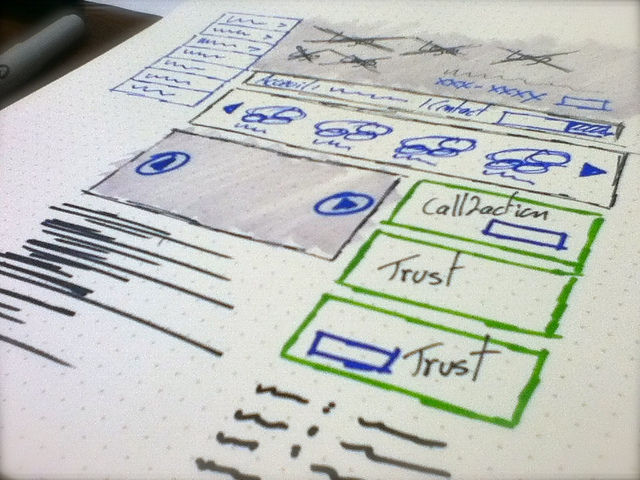
© Benoît Meunier, CC BY-SA 2.0
Wireframes are a more complex approach to mapping out your product. They are more detailed than sketches and if you use computer software to develop the wireframes then you can add genuinely interactive elements to the wireframe. This makes it easier to formally test ideas and see if they work in practice. In general, the look of the finished product isn’t so important at the wireframing stage – you don’t need to make these things pretty but you do need to include enough detail so that you can see how the wireframe performs with users.
Prototypes
Prototypes are working models of your finished product. They are designed to emulate not just the functionality of the product but also the look and feel. By the time you introduce these high-fidelity models into the process – you should be a long way to finalizing the details of the product. Prototypes, by their very nature, take longer to produce and cost more to produce than wireframes or sketches.
Ekta recommends that you develop prototypes, where possible, with the intention of recycling code from the prototype into the finished product. While this may add additional costs at this stage – it should save money over the lifecycle of the product’s development.
The Take Away
While faking it until you make it on Aardvark’s scale may take a lot of nerve – on a smaller scale through rapid prototyping it makes sense in all UX environments. Testing ideas without building them is cheaper and more resource efficient than it has ever been.
There are plenty of tools that allow you to automate this and not all of them are expensive. This means that a smart UX designer or UX design team can substantially boost the value they add to the bottom line without laying out a small fortune in the first place.
Resources
Need to develop some sketches for UX work? Here are some suggestions for automating the process from UX Booth.
Wireframing on a budget? Never mind, we’ve got a list of 10 free to use tools for you here.
We also have a great list of wireframing and prototyping tools you can use on your projects here.
Find out all the fine detail of Aardvark’s success and how they faked it, until they made it at Gigaom here.
Read Ekta’s piece on rapid prototyping at Usability Geek here.
References
Hero Image: ©Samuel Mann, CC BY 2.0