So, you want to create prototypes to help in your design process or Design Thinking project. However, what kind of prototype should you create? How detailed should your prototype be? What should your prototype be created for? If you’re asking yourself these questions, then great, because you’re on the right track! We will go through the different levels of fidelity of prototypes, as well as the kinds of prototypes you can create. We’ve also created some highly useful templates that you can use to guide yourself in your prototype-making process. Afterwards, you should be in a much better place for starting to create your own prototypes.
Prototypes begin as extremely rough, quick, and low-cost experiments in the early stages of a design process or Design Thinking project, later moving towards higher-fidelity models, which are more complex, detailed, and costly final drafts. Your design team will continue this process until you manage to uncover or address problems sufficiently and in such a way that the team feels confident that you’ve arrived at a production-ready solution. By then, your solution should meet the needs of the user, as well as the business or organizational objectives.
Fidelity of a Prototype
The fidelity of a prototype refers to its level of completeness and detail. The degree of completeness of the prototypes you build depends on the stage of progress; these include the following:
Low fidelity – low cost, rough and quick to build
Medium fidelity – slightly more detailed, still rough but closer to the solution
High fidelity – much closer to final, very detailed and much more time-consuming
This represents a scale of completeness or closeness to the final product, which differs depending on the type of solutions and needs of the situation. Prototypes can also have different parts with varying levels of fidelity. For example, you can build a prototype with high visual fidelity but with low functional fidelity — which would be useful if you were testing the visual aspects, rather than functional aspects, of the prototype. The main aspects, which are the focus of the prototype, should receive more focus and, ideally, higher fidelity.
Low-Fidelity Prototypes
 Author/Copyright holder: Teo Yu Siang and Interaction Design Foundation. Copyright terms and licence: CC BY-NC-SA 3.0
Low-fidelity prototypes are much easier to execute and less costly; moreover, they require less time and are less “precious” to the design team. This allows you to develop your idea rapidly and iterate through many versions in a short space of time, without draining much in the way of resources. You should mainly use low-fidelity prototypes at the early stages of a project, where you will need to test many assumptions. At this stage, you can use low-fidelity prototypes to weed out major problems with the proposed solution and evaluate and validate the solution hypothesis (i.e., determine whether it meets the team’s internal requirements as well as the user’s needs).
 Author/Copyright holder: Samuel Mann. Copyright terms and licence: CC BY 2.0
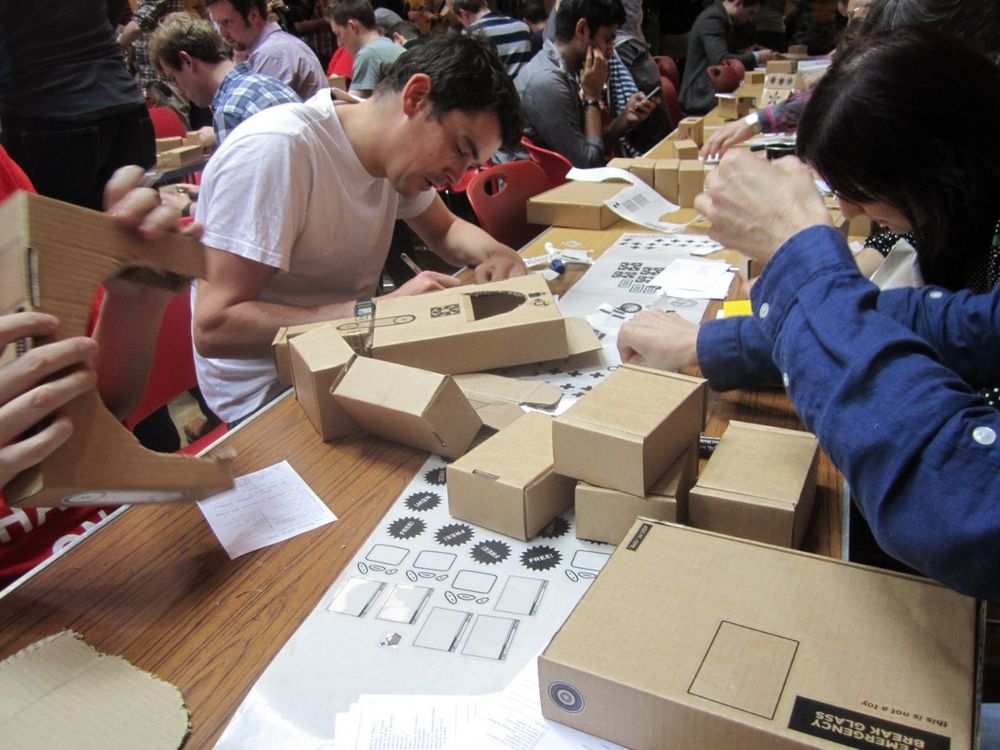
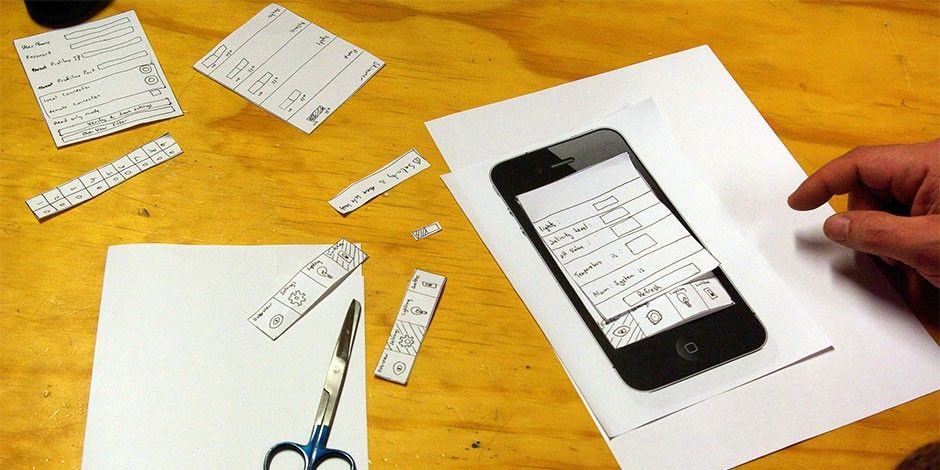
Paper interfaces are an example of low-fidelity prototypes.
The low-fidelity stages of prototyping also feed nicely into the early divergent stages of ideation, where there is freedom to explore and generate new ideas and solutions. You can keep testing and iterating your low-fidelity prototypes until the team is satisfied that you all have explored enough variants. You can then move the models that make it through early rounds of testing to higher and higher levels of fidelity in order to explore the finer details of execution.
Low-fidelity prototypes may include rough sketches, paper models, simple storyboards, or rough paper prototypes of digital interfaces. You would base your choice of the type of prototype on the type of solution you are seeking to create.
When to Use Low-Fidelity Prototypes
Use low-fidelity prototypes when you need to test rapidly and cheaply and explore a wide range of options in order to figure out the best ways of executing your ideas. Use them as a proof of concept model to test out and rapidly present ideas in tangible form.
Medium-Fidelity Prototypes
After working through some early models and resolving the most obvious and blatant of issues, you should move out of the divergent mode of the prototyping phase towards refinement and testing slightly finer details. In order to progress to the next stage of prototyping, you need to add more details and refinements to prototypes, making them resemble final products more closely.
Medium-fidelity prototypes take longer to develop, for the above-mentioned reasons, and may be costlier. This is why you should test and eliminate enough early-stage problems and assumptions with lower-fidelity models before moving on to using medium-fidelity prototypes.
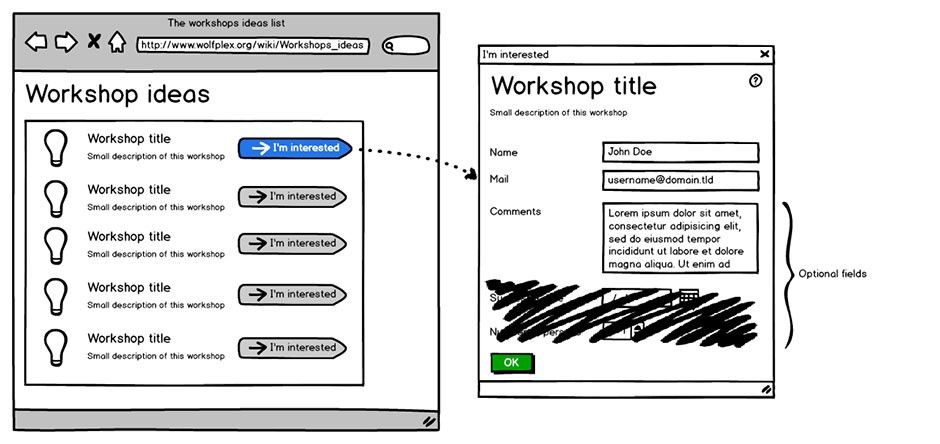 Author/Copyright holder: Dereckson. Copyright terms and licence: CC BY 3.0
Wireframes, like the one above created on the software Balsamiq, are commonly used medium-fidelity prototypes.
When to Use Medium-Fidelity Prototypes
Use medium-fidelity prototypes when you need to give people a better sense of what the solution or part of the solution might look like — and when you have already tested and validated some early assumptions. Medium-fidelity prototypes are great for refining the execution of solutions, while still providing room for changing direction and testing out options.
High-Fidelity Prototypes
 Author/Copyright holder: Teo Yu Siang and Interaction Design Foundation. Copyright terms and licence: CC BY-NC-SA 3.0
High-fidelity prototypes are the last line of testing before moving on to execution of solutions. They allow for providing an accurate representation of what the solution might look like with fine details; better still, they may include much of the expected functionality. High-fidelity models may even contain all the functional elements required although we may execute these using less-than-optimal mechanisms or technology.
High-fidelity prototypes aim to provide the closest representation of the idea possible without the time and cost required of final production.
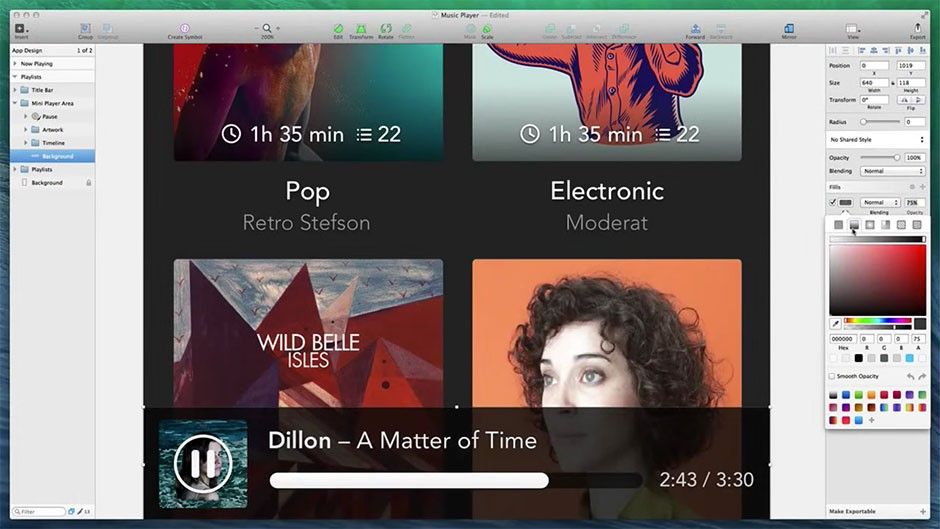 Author/Copyright holder: Bohemian BV. Copyright terms and licence: Fair use.
High-fidelity prototypes, like mock-ups produced in the application Sketch, have a high level of detail and are close representations of the final product.
When to Use High-Fidelity Prototypes
Use high-fidelity prototypes when you need to test the full spectrum of dynamics of the completed solution as well as analyse it for functional, visual and experience purposes. It provides a much more realistic picture of what the end product may be like and allows for final-stage refinements and experience tests. High-fidelity prototypes are excellent for the final selling of ideas when funding decisions need to be made, or when potential markets are being approached for feedback.
Prototyping for Empathy
 Author/Copyright holder: Teo Yu Siang and Interaction Design Foundation. Copyright terms and licence: CC BY-NC-SA 3.0
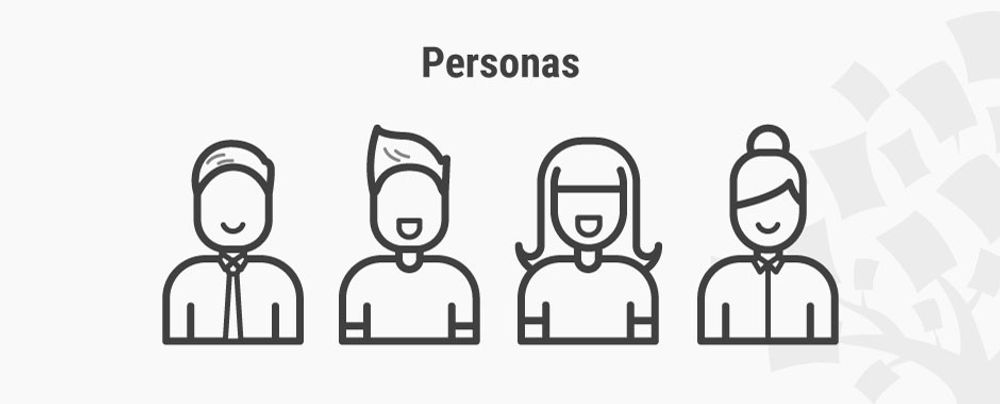
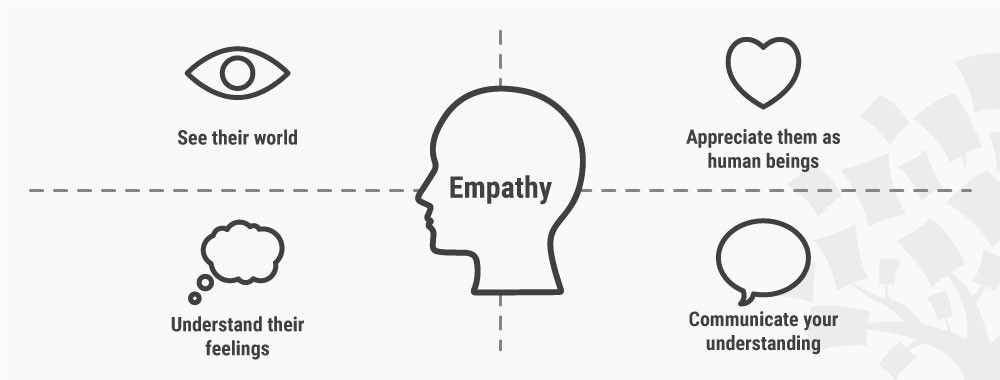
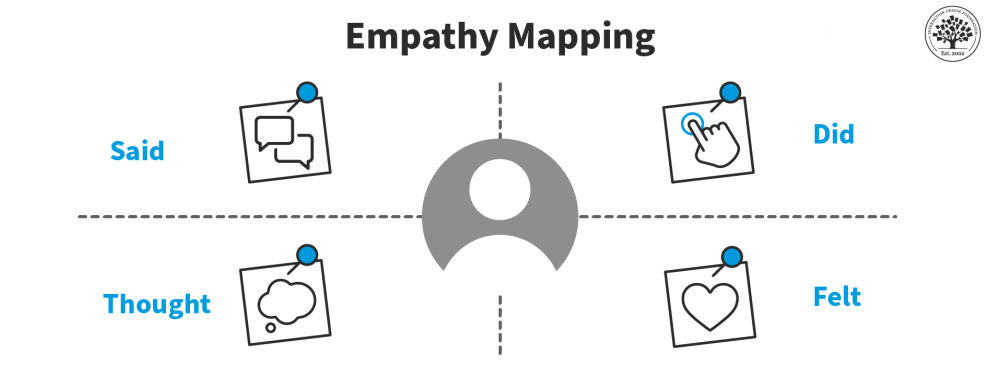
While you will create most prototypes in order to evaluate the ideas that your team has come up with, it is also possible to use prototypes to develop empathy with your users, even when you do not have a specific product in mind to test. We call this “prototyping for empathy” or “active empathy”, and we usually do it in the early stages of a design project. Use empathy prototypes to gain an understanding of the problem as well as your users’ mindsets about pertinent issues. You will find that using empathy prototypes is best after you have some basic research and understanding of the design problem and users. They are extremely useful in helping you probe deeper into certain issues or areas. Before building an empathy prototype, hence, you will need to figure out what aspects of a user or the environment you would like to probe deeper. Then, build prototypes that will effectively evaluate those aspects.
“Prototyping is the conversation you have with your ideas.”
—Tom Wujec, Fellow at Autodesk, a global leader in 3D design, engineering and entertainment software
For instance, if you want to find out about your users’ mindsets towards reading, you could ask your users to draw how they think about reading. After they have finished, you could ask them about what they have drawn and — from there — understand how they think.
Alternatively, you could create an empathy prototype for yourself and your team-mates so as to help you step into your users’ shoes. If you are building prototypes for people with visual impairments, such as the elderly, you could create a quick prototype by applying some gel onto a pair of lightly tinted sunglasses. Wearing this prototype would simulate the poor eyesight of the elderly and enable you to gain an idea of the obstacles they face.
You can download the “Prototyping for Empathy” template and use it as a guide for yourself and your team:

Prototyping to Test
 Author/Copyright holder: Teo Yu Siang and Interaction Design Foundation. Copyright terms and licence: CC BY-NC-SA 3.0
This will be the most common prototype you will create in a design project. Create iteratively improved prototypes in order to test out solutions quickly, and then use the test results to improve your ideas.
So as to start with prototyping to test, you will first need to identify the key question(s) you want to answer through your prototype. That way, you can focus on building the aspects of the prototype that test these questions, thereby saving time and allowing you to pursue various ideas at the same time. Remember that not all questions require a functional prototype: sometimes, creating something with the right weight or size will do the trick.
While prototyping, keep in mind how you will test the prototype. Figure out if you will need to test the prototype in the natural environment of the user (chances are, the answer is “yes”). If that is not possible, determine how best to simulate the natural environment.
You can download and print the “Prototyping to Test” template so you can get started quickly testing out your solutions, and then use the test results to improve your ideas:

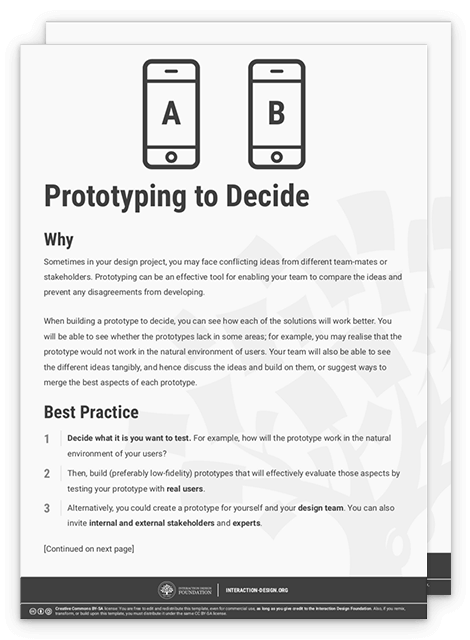
Prototyping to Decide
 Author/Copyright holder: Teo Yu Siang and Interaction Design Foundation. Copyright terms and licence: CC BY-NC-SA 3.0
Sometimes in your design project, you may face conflicting ideas from different team-mates or stakeholders. Prototyping can be an effective tool for enabling your team to compare the ideas and prevent any disagreements from developing.
When building a prototype to decide, you can see how each of the solutions will work better. You will be able to see whether the prototypes lack in some areas; for example, you may realise that the prototype would not work in the natural environment of users. Your team will also be able to see the different ideas tangibly, and hence discuss the ideas and build on them, or suggest ways to merge the best aspects of each prototype.
After you have built the (preferably low-fidelity) prototypes, present them to your design team. You can also invite internal and external stakeholders and experts — and, obviously, your users — to provide you with sufficient feedback for moving on in the design process.
For your inspiration and guidance, you can download the “Prototyping to Decide” template:
The Take Away
Prototyping can seem confusing, but it does not have to be that way. Know when to create the right level of fidelity of your prototype, as well as what exactly you are testing, and you should be able to create prototypes rapidly in order to test many ideas. You can use prototyping to test ideas and assumptions, to gain an empathic understanding of your users, or to help your design team decide amongst a few competing ideas. Above all, prototyping, in its various dimensions, will throw open the doors to offer you priceless early views of your target audience in their environment.
References & Where to Learn More
d.school Bootcamp Bootleg, 2013:
Hero Image: Author/Copyright holder: Jo Szczepanska. Copyright terms and licence: CC0